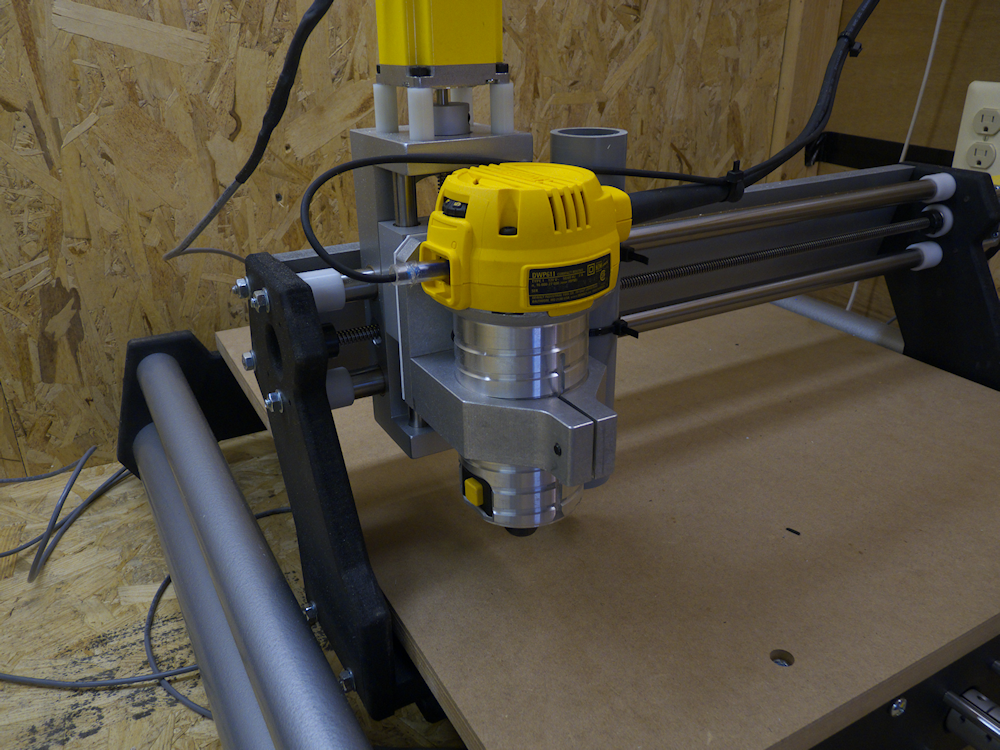
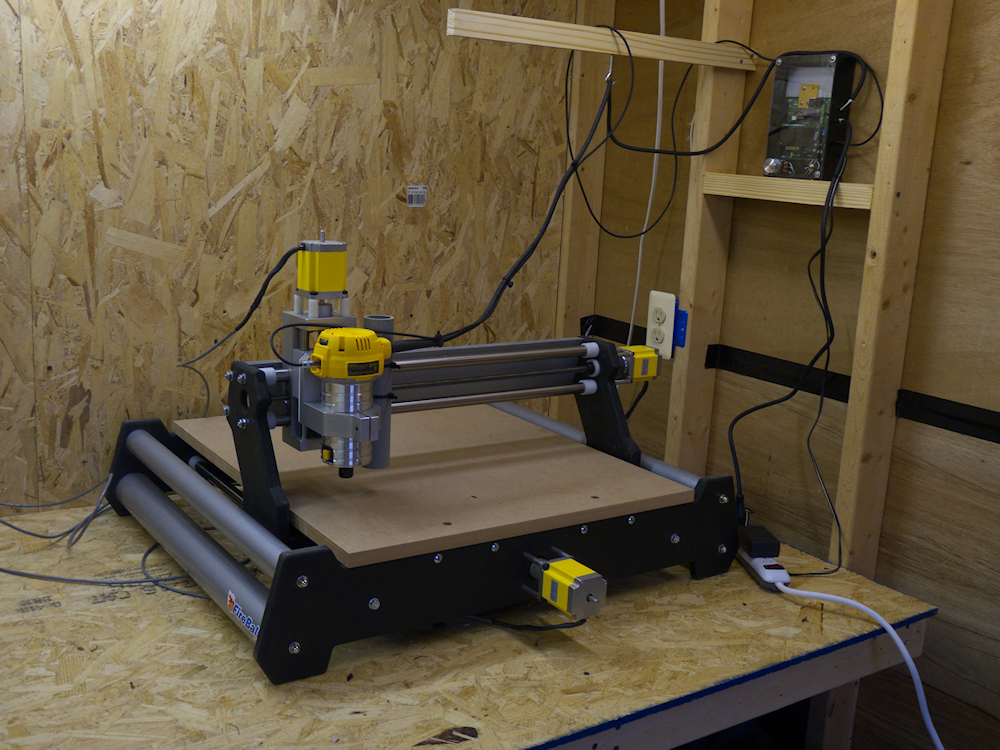
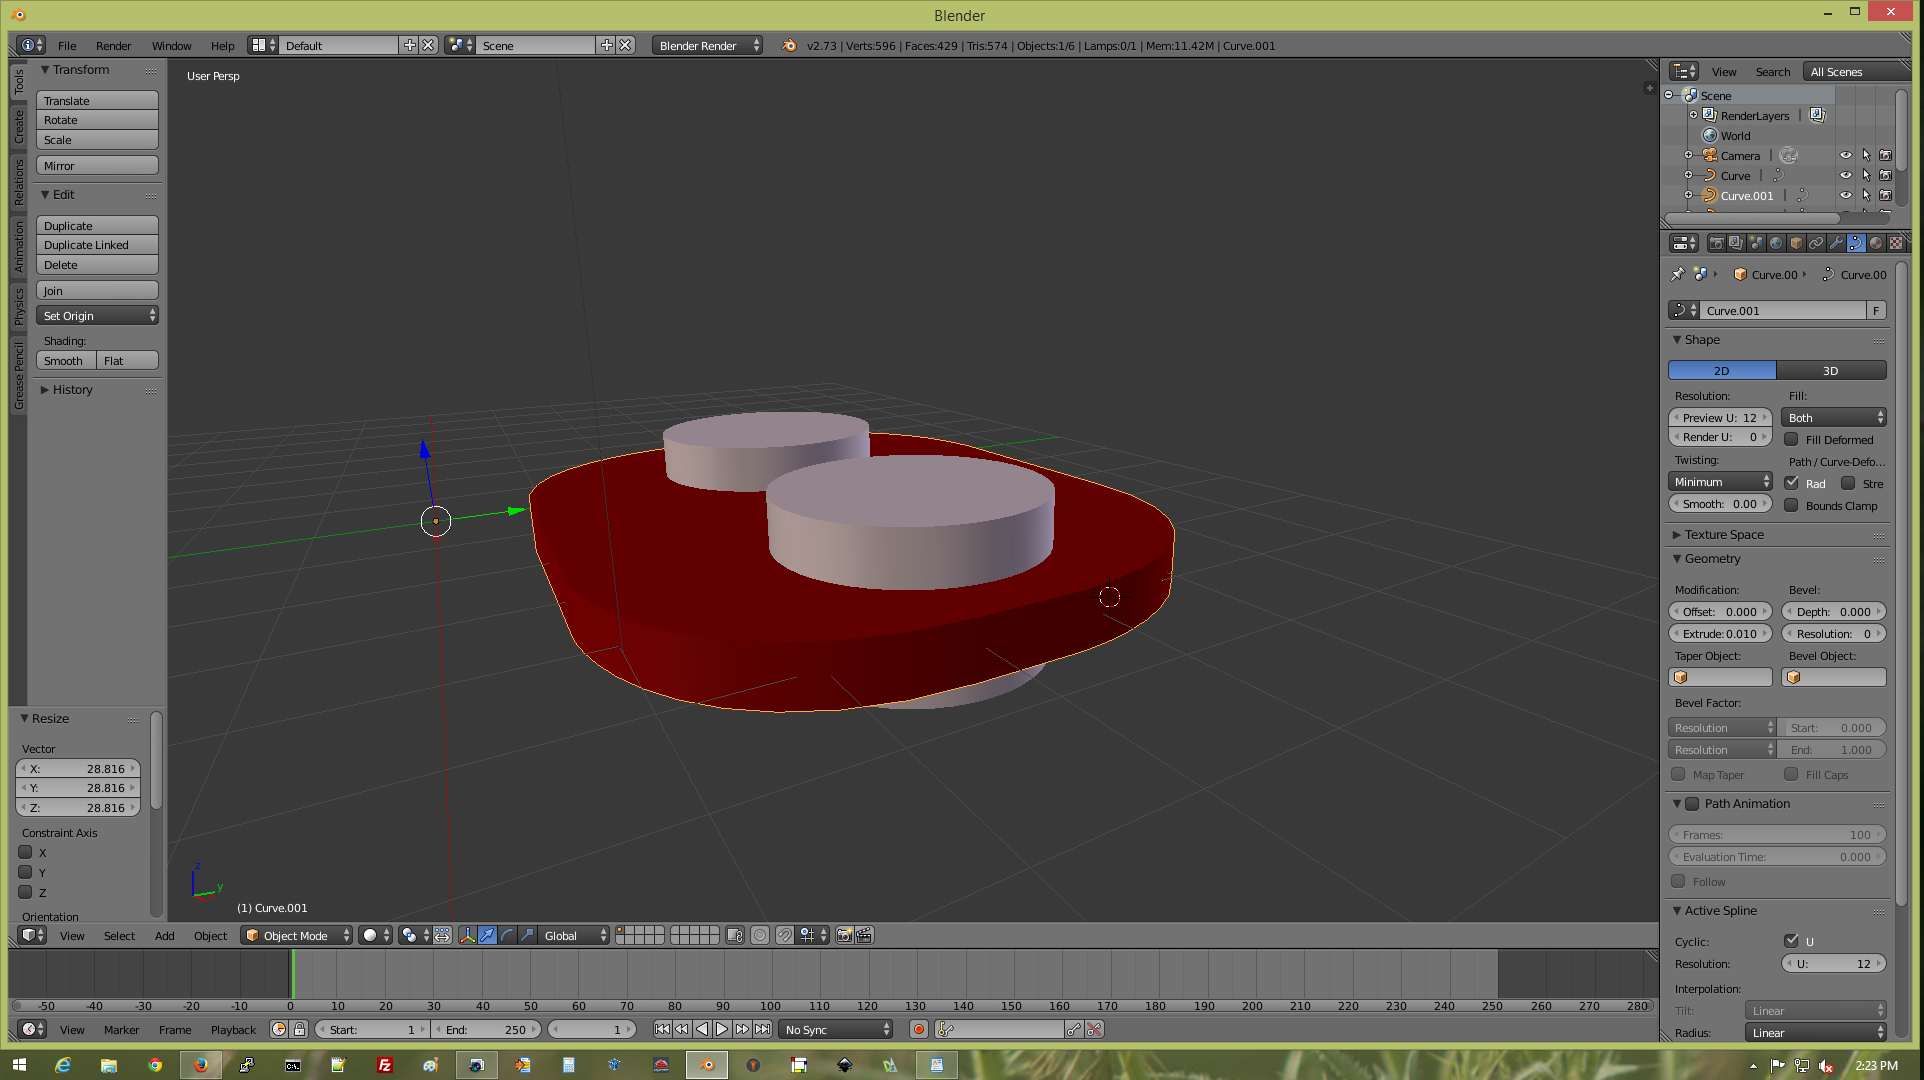
Man, my o-flute-upcut carbide bit does some clean work on .125 inch styrene! This is the design from a few posts down, cut out with the CNC. A waterproof R/C servo provides the automation. The arm has one super magnet, the wheel on the servo has two. The idea here is that you can throw the lever manually to control a turnout but that it also remains at all times under control of the computer.

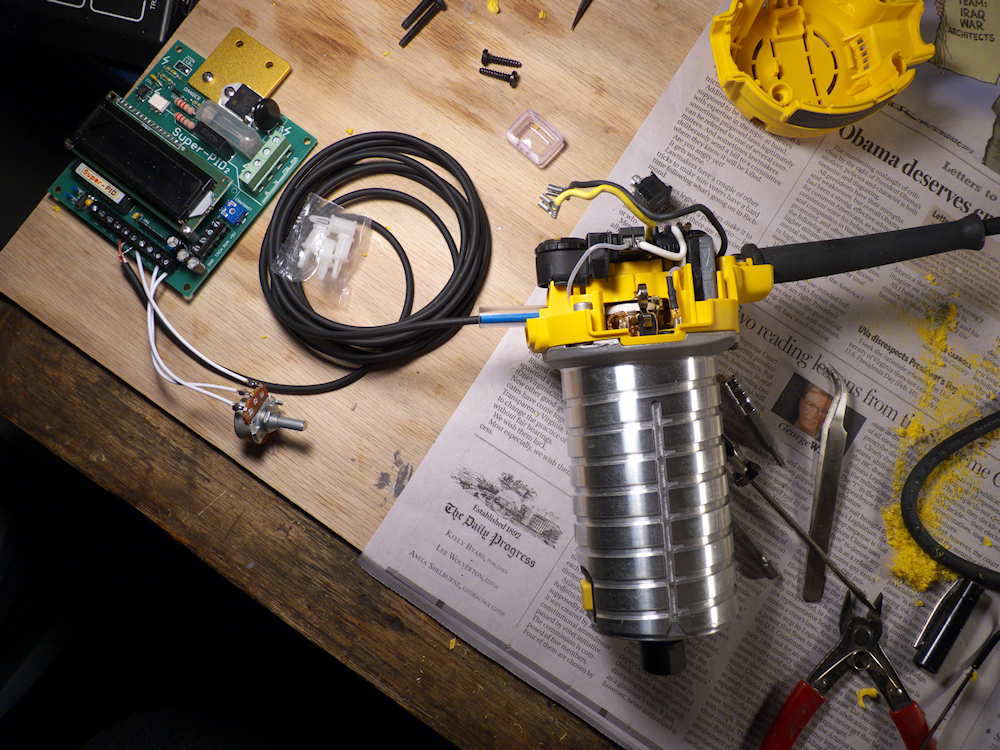
That’s the plan anyhow. The magnets are those little really powerful ones. They act like a ‘clutch’ in this situation. So far it works on the bench but the real world is another story, I’m not quite there yet. I need to install them on my three turnouts and stick them out in the cold rain for some testing.

Dollar Saver

dollar-sm

It’s a learning curve but I’m getting there. Here is the basic storefront and one side of the dollar saver general store. Mr Big checks out the sign. I still have resin casts and a couple of molds to complete, the ones shown are obviously not up to par. I’ve been through about 12 sheets of 18×18 inch 1/8 ply to get here but I must say, this is the BEST machine I have ever bought. I just got a set of 1/32 inch carbide bits, they work GREAT and give a super smooth finish, the letters were all cut with that bit.


So here ya have it, front, side and support of a building I’m working on. All the window and door openings look rough but will be filled with resin castings. There seems to be a sort of ‘black art’ to selecting the right bit for the right material and then getting the feedrate right as well. I’m closer to figuring it out I guess.

Super PID speed controller online and tested. Works GREAT! I built a custom enclosure out of styrene and did some surgery on the router to get the sensor positioned and the innards rewired. Way worth the effort.

I am almost ready to do some cutting, just need to get the vacuum system online and finalize my tool paths. Awesome.

Installing the Super PID into my router. Once I have this hooked up and running, I’ll be able to dial in any cutting speed within a couple of rpm. Sweet. That, coupled with the right bit should let me cut, carve and engrave wood, plastic and acrylic materials. Quite a learning curve here but it’s way fun.

Note: This page gets hit a lot and I’m sorry I don’t have more specific instructions on doing this mod but it’s all together now and works really well so I don’t want to take it apart to do a tutorial. I do remember this being rather easy, its basically as simple as bypassing the speed controller. I think I made one wire cut, drilled the hole and used one piece of shrink tubing. I followed the generic instructions on the Super PID page. Everything works very well, the LEDs still light up the work area and the PID lets you dial in the RPMs to within about 10 or so. It holds that RPM even chomping on some hard pine although I generally use mine to cut sheet styrene.

Another item: BE CAREFUL mounting the sensor, it must be VERY secure. Mine came loose after about 9 months or so and crept into the router. It didn’t hurt the router but it did grind the sensor down to a nub and destroyed it. Turns out it’s more or less easy to fix, a sensor can be had from Mouser.com electronics the part number is 512-QRE1113. However it will bring you to a complete stop as far as cutting out parts so beware. (2/22/2016) I’ll try to post up more pictures of my mods when I fix this.

3guys-sm

I think I have too many irons in the fire sometimes but here is the latest shipment from Shapeways. On the left is a 1:20 scale print of my trusty foreman model, in the middle is the secretary/waitress in 1:24 and to the right is the conductor in 1:29. I’m very happy with the quality of the foreman fellow in the larger size, the details are quite good. The waitress was a real pain to get printable but she came out pretty good too. The Conductor in 1:29 had to be printed in the ‘detail’ plastic but it was worth it I think.

I have a store front on Shapeways now – Blueridge Engineering

Probotix X90

Everything is now together, refurbished LinuxCNC PC, all the motors hooked up and working. Now I’m figuring out all the settings and things like accelerations and feed rates and all that. I can now see the benefits of limit switches, particularly as new as I am at this whole thing. But it’s coming together nicely, I’m quite pleased with it. It will be a while before I can actually try to cut something out but so far so good.

Maker Space

space-sml
X90-sml

I wish I had a ‘before’ picture of this, you would not believe the disaster that was my shed!

Tons and tons of junk piled all over the place. Nasty. Nevertheless, after much physical activity and throwing away of ancient artifacts, here is my new floor and nice solid bench work. Talk about a strenuous weekend, I strained muscles I didn’t know I had. Ouch.

But it was worth it. I finally got started assembling my Probotix X90 3D Router.

Along the way I also lucked into a bunch of surplus windows boxes and flat screens so I promptly wiped em and installed Ubuntu. Sweet. They all have printer ports on them too, perfect for the X90 control box and Linux CNC. You can see one in the corner there.

I still have a ways to go, I’ve ordered a Super PID so I can dial in a router speed and cut plastic, in particular, styrene sheets.

A 3D printer at some point would also be nice but one thing at a time, eh? ha.

people-sm

So here is the collection. This is all of the resin casts I’ve done that have turned out ok. I have another, smaller pile of rejects but that’s part of learning how to do this. I think I’ve come to the limit of this particular process and tool chain. I need to step up to a more detailed 3D print and a vacuum system for the molds and resin casts.