Just a disclaimer- THIS HAS NOT BEEN TESTED AT OVER 5psi or so. A STEAM RUPTURE can be EXPLOSIVE and cause serious injury!!! If you decide to build something like this, research the water psi test if you want to take it up to a higher operating pressure!
First Steps
Well, plan A didn’t work out, turns out it’s quite difficult to solder plates onto the ends of a can, or it was for me. So, back to the drawing board and a new path. As always the plan is to construct a small boiler for hobby steam engines that is reasonably cheap, durable and can be made from off the shelf parts with basic tools.
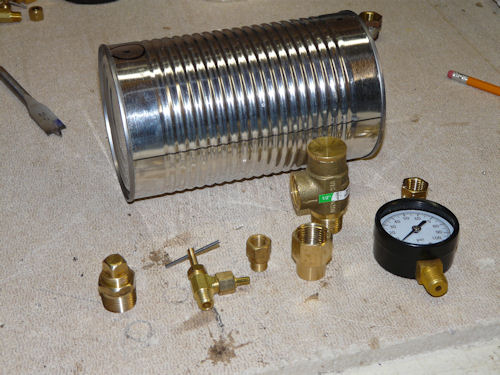
Anyhow, this time I’m going to leave the can intact and turn it on it’s side. No firetubes, just a can of water to boil. I’ll put four holes in the ‘top’ and install a water fill fitting, a steam outlet with a valve, a pressure dial gauge and a pressure release/safety valve. Again, the fittings and solder are from my local big box home improvement store, Lowes. The can of beans is from the local cheap grocery, Food Lion.
The idea here is to cut the openings with a dremel grinding bit so the holes have clean edges. Then solder in the fittings, mask it off and spray the entire ‘boiler’ with black high temp ‘grill’ paint (rattle can, also from Lowes)
My last approach, trying to drill the can with various bits, didn’t work out well. The metal is just too thin and a raw opening with gaps does not solder well.
The safety valve deserves mention. It’s on the shelf at Lowes in the pump department, I assume it’s for some sort of well/pressure installation. It’s preset at 75psi, but if you take a wrench to the top and open it up, you will see that you can adjust the tension on the spring to dial in a smaller release pressure. I’m thinking my can will do maybe 50psi or so but I only need about 20psi to run my steam engine. This will be an interesting empirical adjustment when the time comes!
Step 2
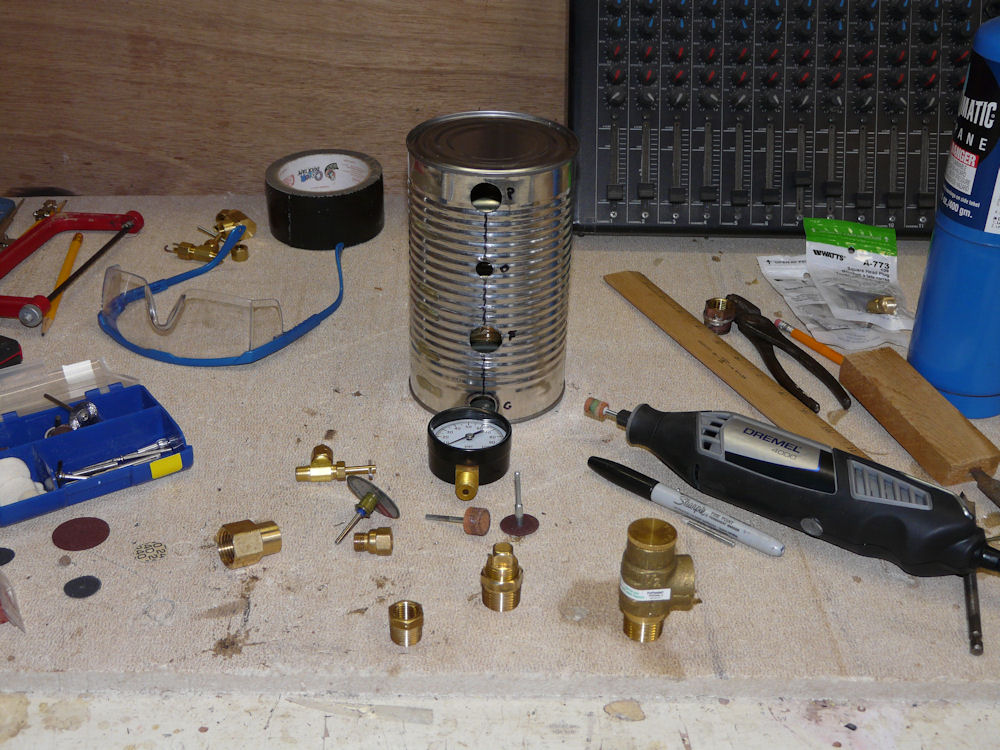
Well, so far so good. The green beans turned out to be not that terrible to get out of the can. I used a finishing nail to make two small holes to drain the liquid, then used a Dremel tool with a cutting disk and grinding stone to make two holes at the top and bottom. Then I hooked up the garden hose and with a bit of shaking and coaxing with a stick, flushed all the beans out.
After I dried off and cleaned up the can, I repeated the procedure with the Dremel to make the other two holes and ended up with this:
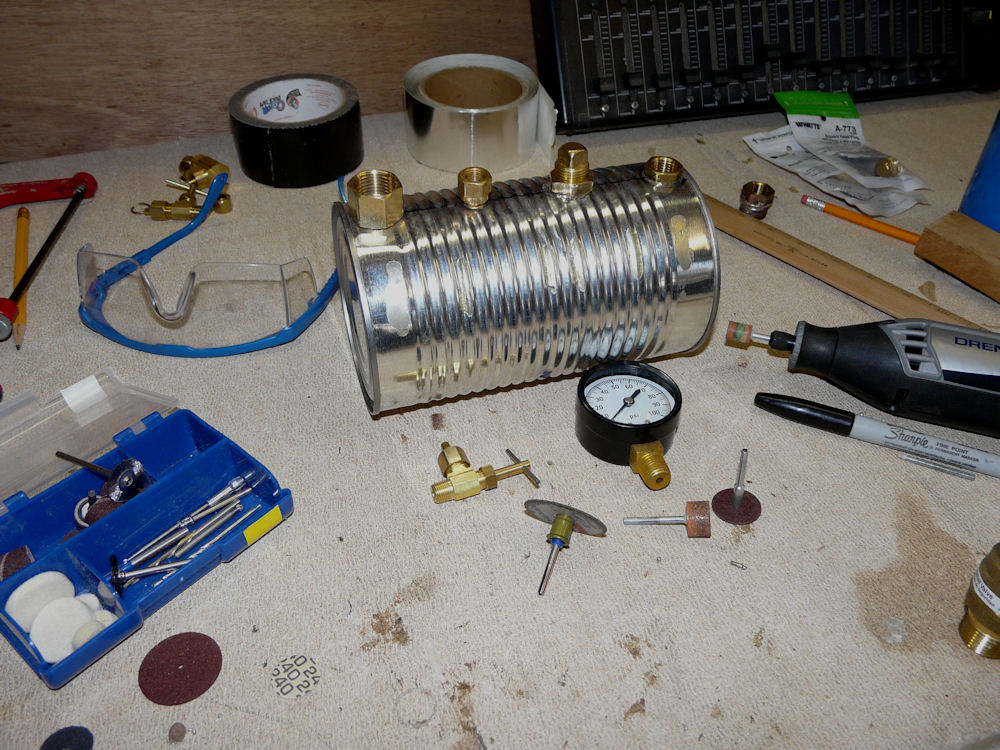
It took some careful grinding but I got the holes sized almost exactly. Here is a pic with the brass fittings placed, I haven’t soldered them in yet:
From left to right, the pressure valve, the outlet to the steam engine, the filler fixture and the pressure gauge.
Next is to solder everything in place, paint it and make a mount out of 16g steel plate. I’m thinking a can or possibly two of sterno could be the heat source.
Step 3
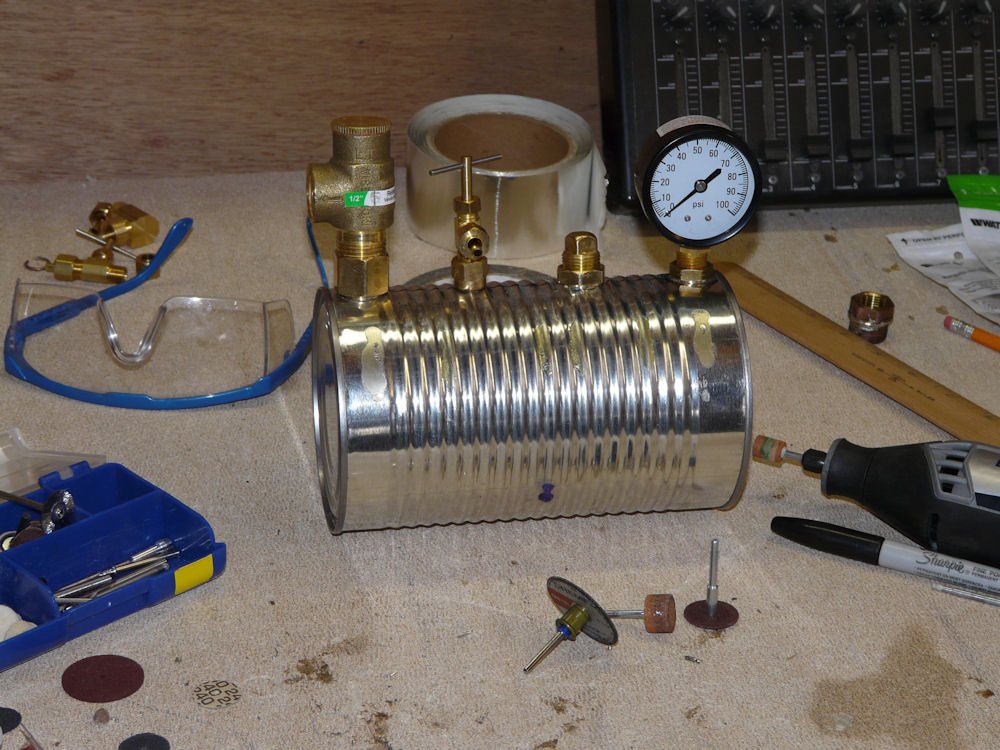
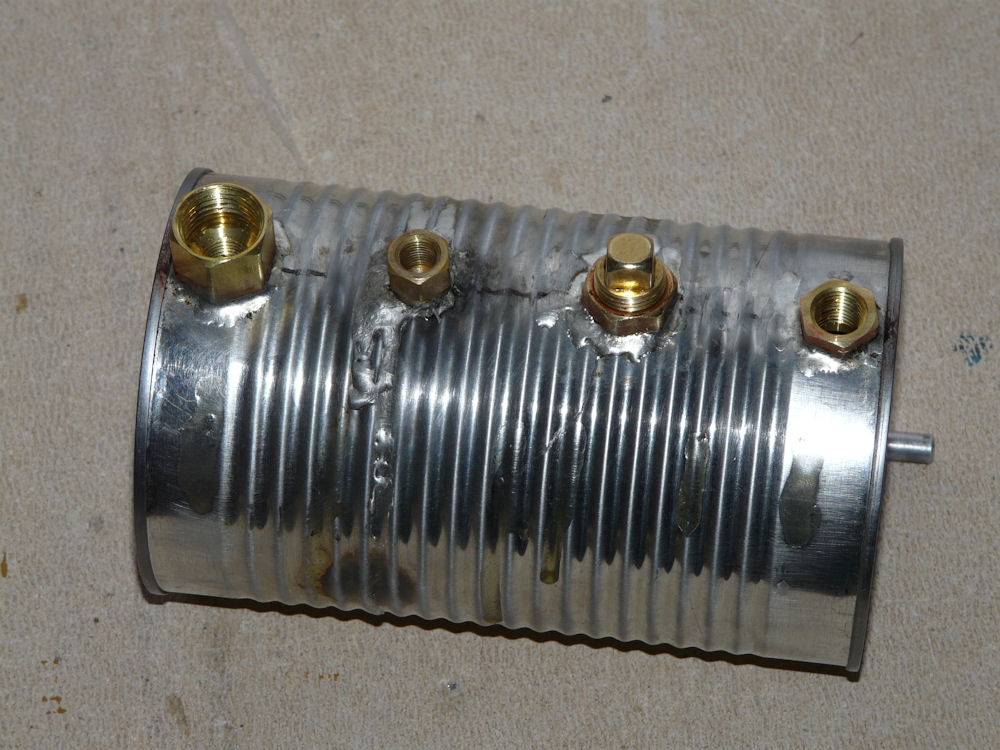
Despite my somewhat sloppy soldering, I finished up the boiler today. Here is a pic of the fittings soldered in. Pretty obvious which fitting I started with and which ones I ended with eh? Oh well, they seem to be air-tight that’s the important thing.
Once it cooled, I masked off the fittings and sprayed the entire thing with high heat engine and grill paint. I cut out two sheets of 16ga steel to hold the boiler and screwed them to the ends of a piece of pine. Not quite done but it’s looking pretty good! Next step, live steam testing.
Update 12-24-12
Tested to 5psi. No leaks so far.
As of 1/2/2013
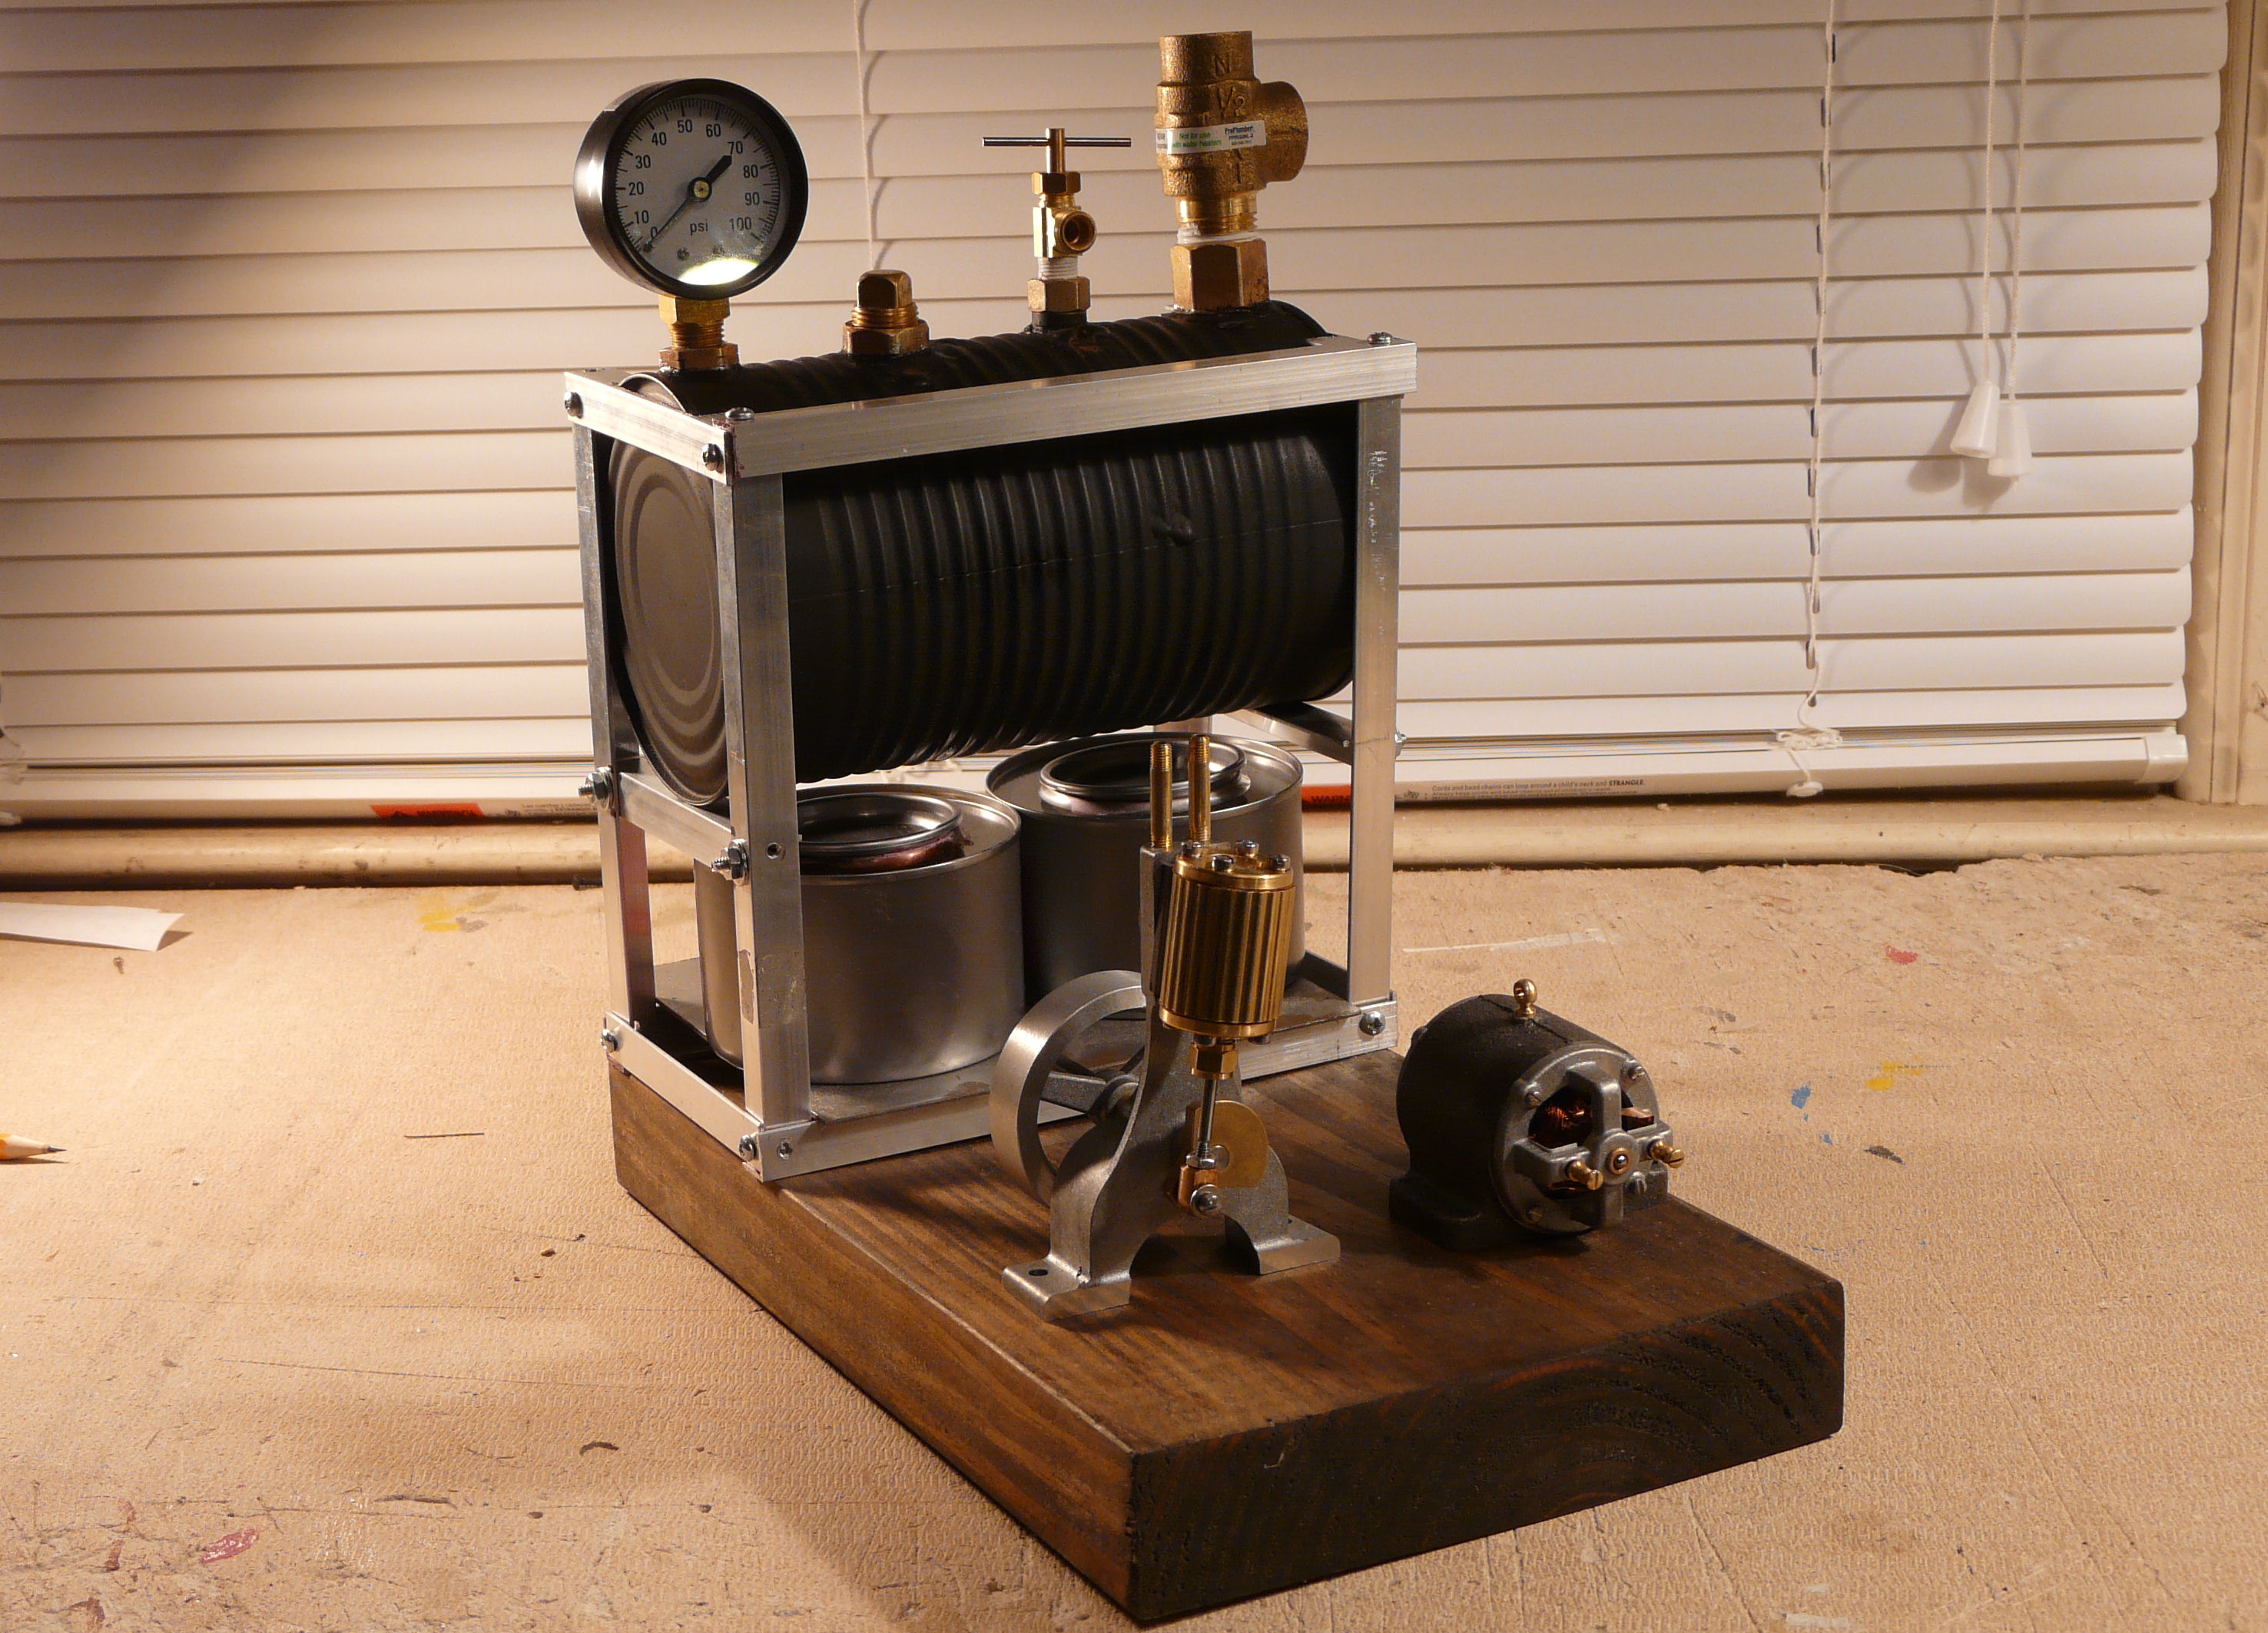
Got side tracked on other things, but did manage to build a frame for the boiler and attach it to a generic stained block of pine. Its built from standard angle aluminum, again, purchased at a big box store, Lowes. Some measuring, a hack saw and metal screws and it worked out ok. I’ve put two sterno cans under it and it boils much faster now. I think a steel plate on the back would also concentrate the heat.
Now I have to plumb the engine and hook up the dynamo but I’m getting close…
01/13/2013
Got it all hooked up, takes very little steam pressure to run the engine. This is a PM Research 2A steam engine, assembled from a kit.
