UPDATE: October 28, 2013
I’ve released all of the wixel and html5 code for this project, you can find details here: HERE
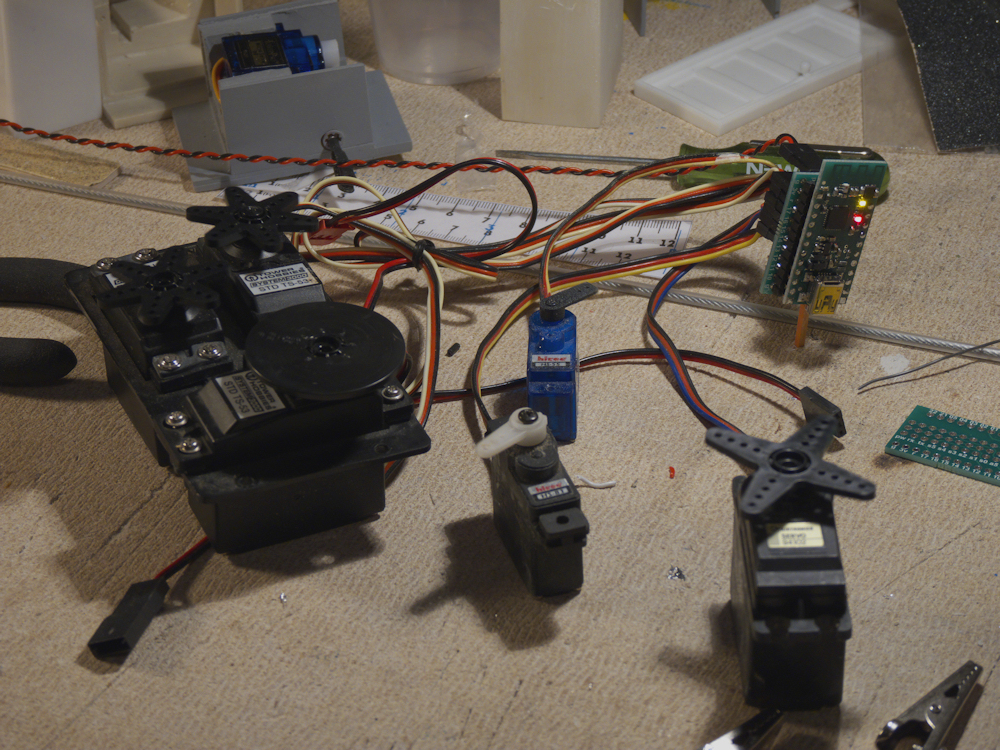
FINALLY, the power returns and I have a chance to test my breakouts! First test is great. I have the Raspberry Pi driving the master Wixel via USB. This slave Wixel, soldered into my breakout board, sits on the other side of my shop. A 5v wall wart provides the power. This is a nice mix of micro servos, minis and three standards. Works great!
In case you have not followed all my posts, what I have here is a master wixel plugged into the Raspberry Pi. Using the built in packet addressing mode of the TI processor (check out the Data Sheet), it sends servo commands to each slave in a round robin sort of protocol. Each slave can control up to 6 servos and return 3 analog inputs to the master.
I’m getting a really good update rate of about 4ms per slave. Once started, it just keeps running, the Raspberry Pi, via the USB to the master, just has to write a servo value into a table and on the next turn for that slave, it’s updated. This frees the Pi from any work at all in maintaining the network, it’s all auto-magic.
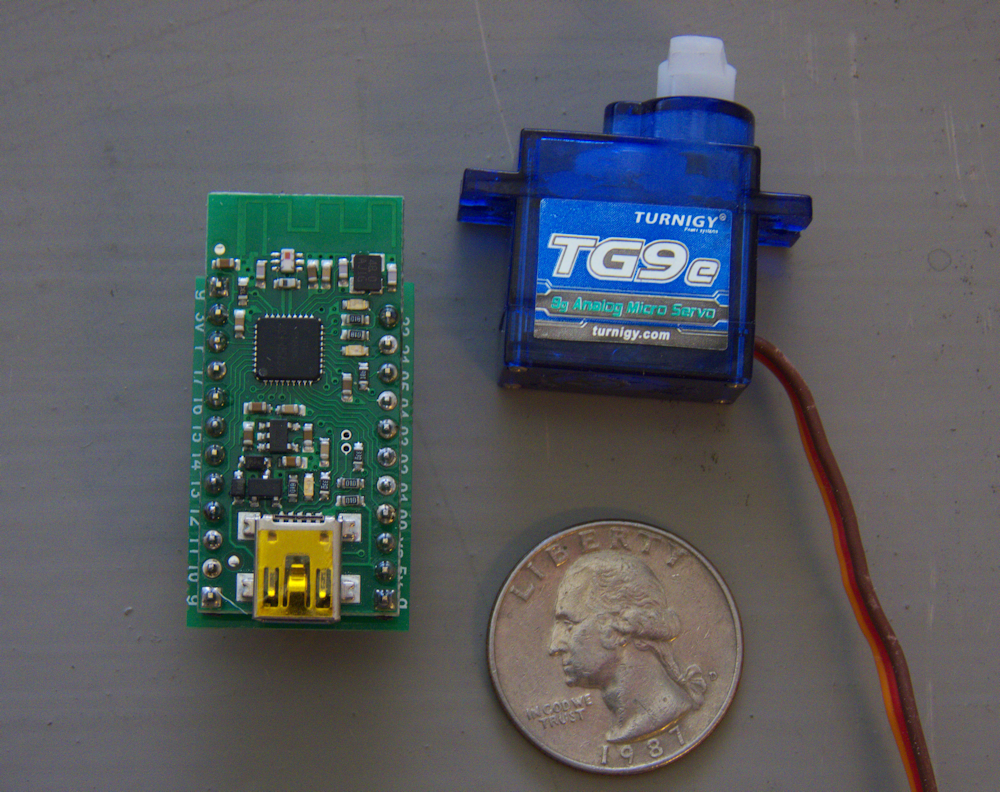
Here are some more pics of the widget.
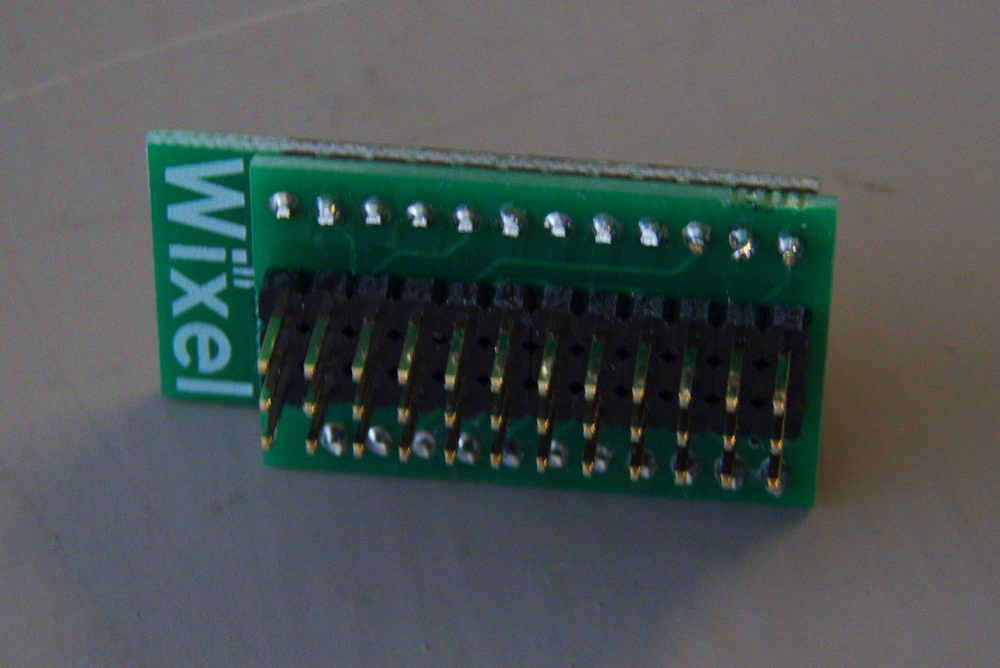
I’ve decided that standing it up at 90 degrees like in other pics is not worth it. Much easier just to solder it in like this:
Here is a LINK to a previous post about the breakout boards. And ANOTHER that has some s/w details. Note, I have NOT released the internal code apps for the Wixels yet, I’m not sure if I will or not, depends on the results of my next project.


