saveway1

saveway2

P1040960P1040966P1040963

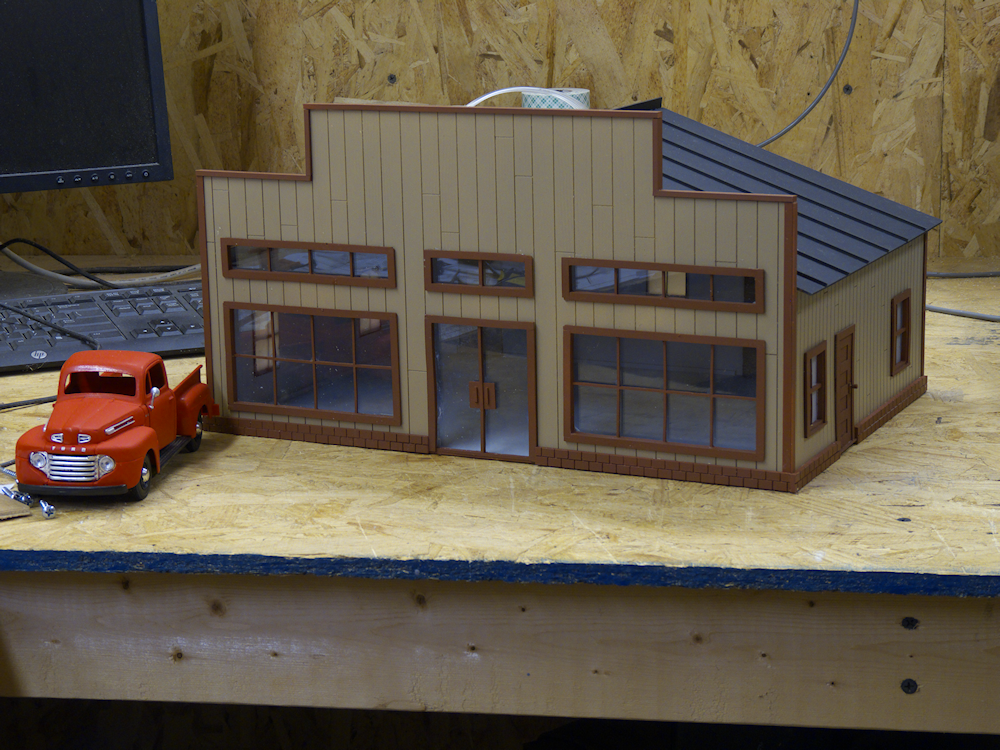
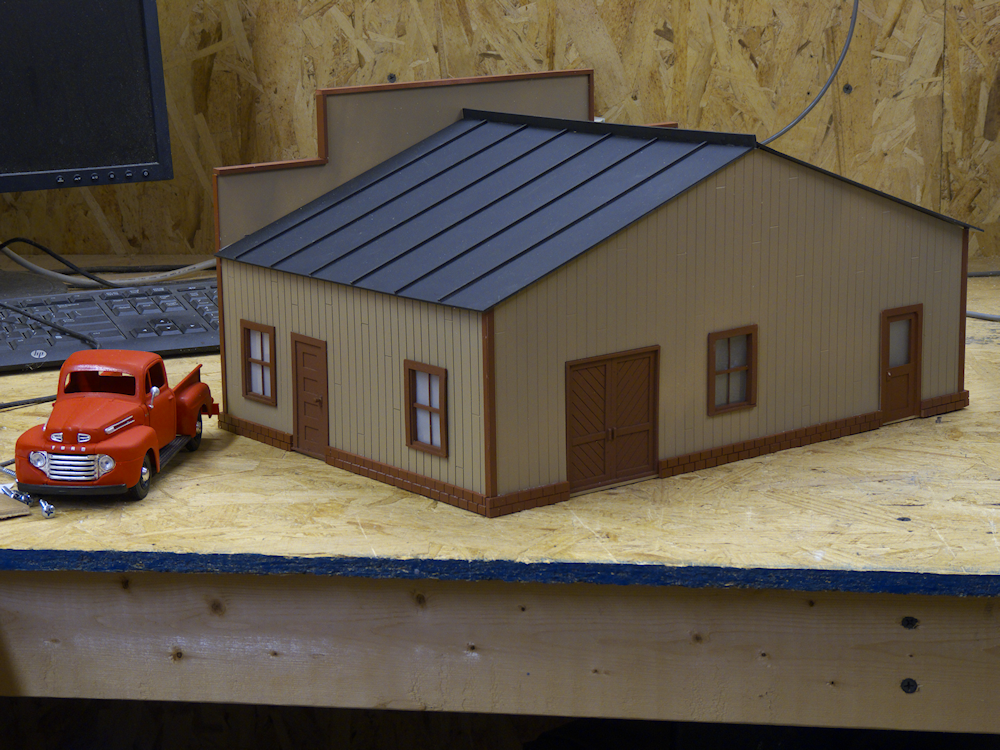
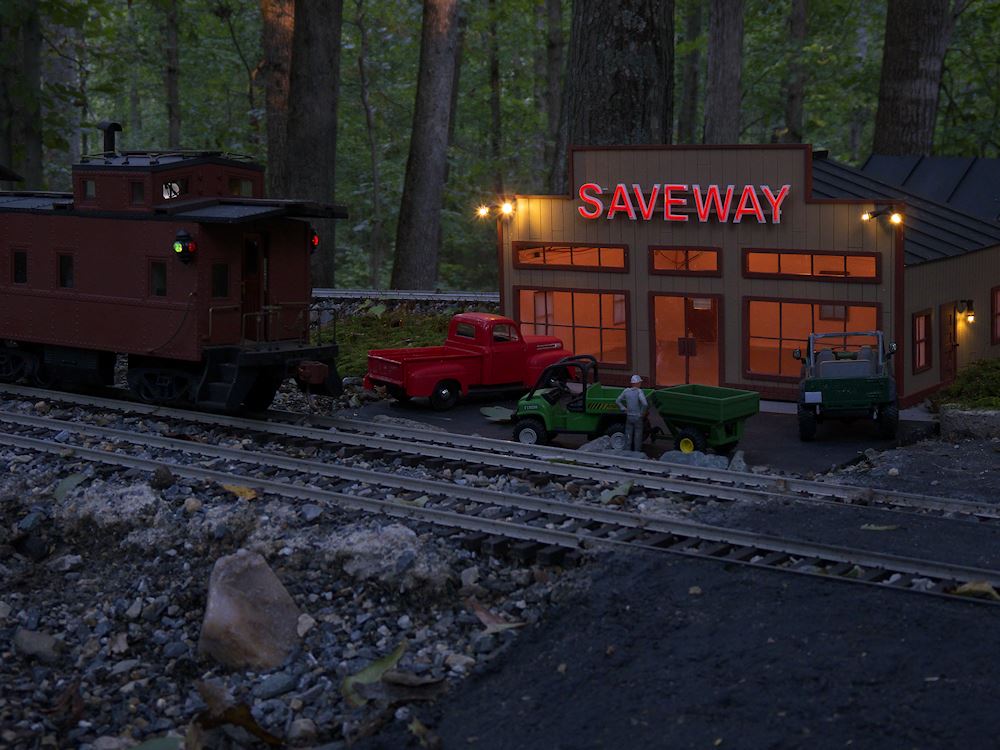
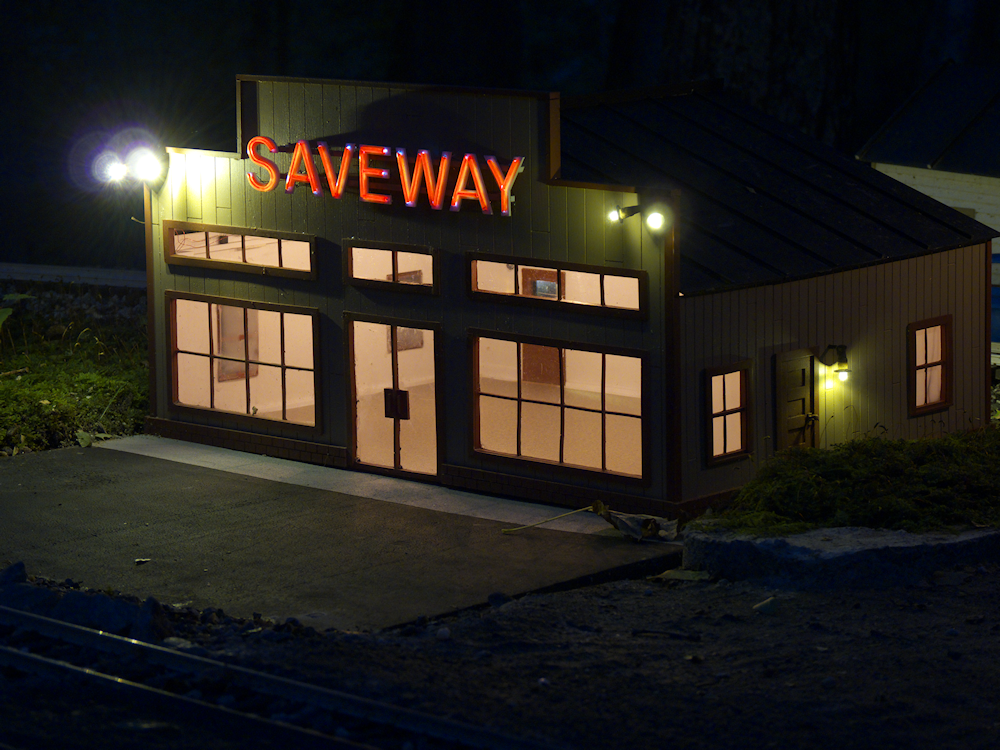
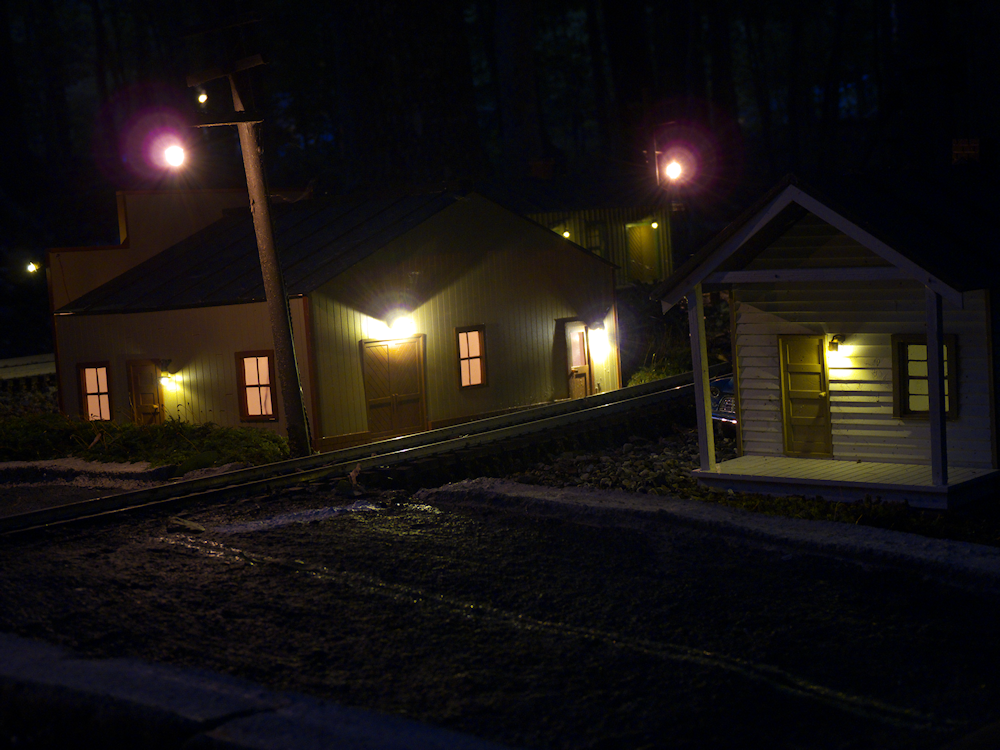
Finished off the grocery store. Well, almost. It’s hooked up to power out in Gilbert, but it sorely needs an interior with those big windows. Also the interior lighting is bulbs, way too yellow for my tastes so that will be replaced. The ‘neon’ sign came out ok but it was bitch to get together, lots of little fragments of EL wire.

railtruck2

railtruck1

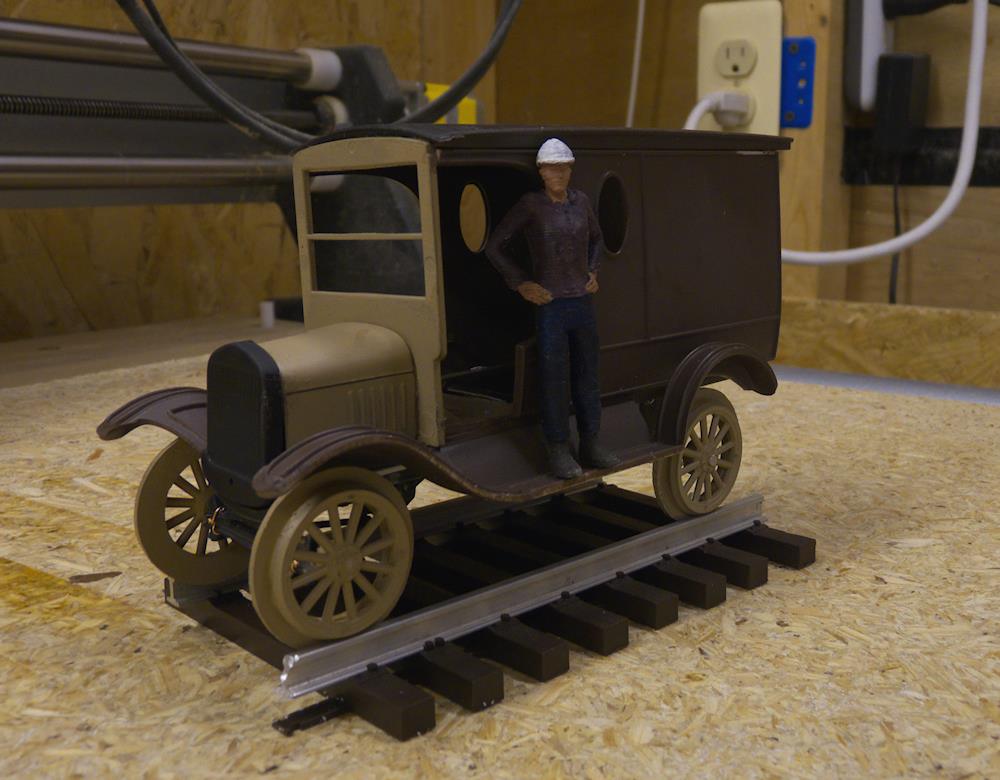
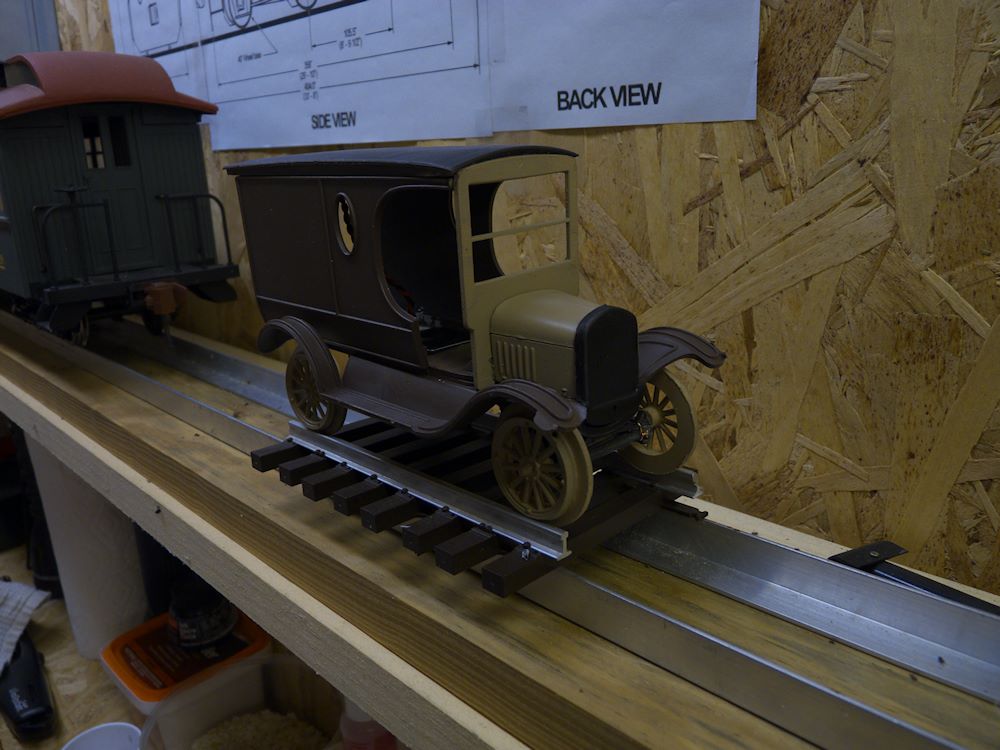
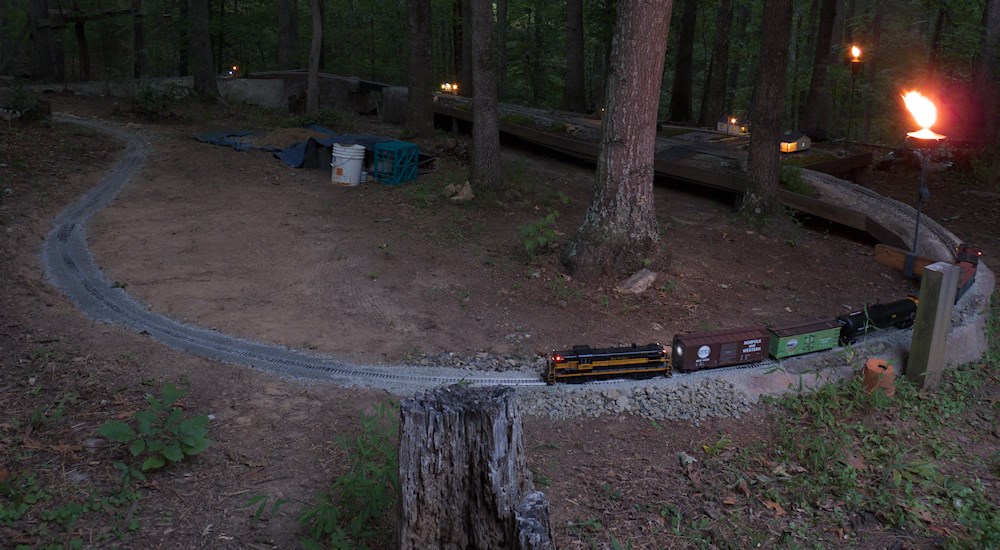
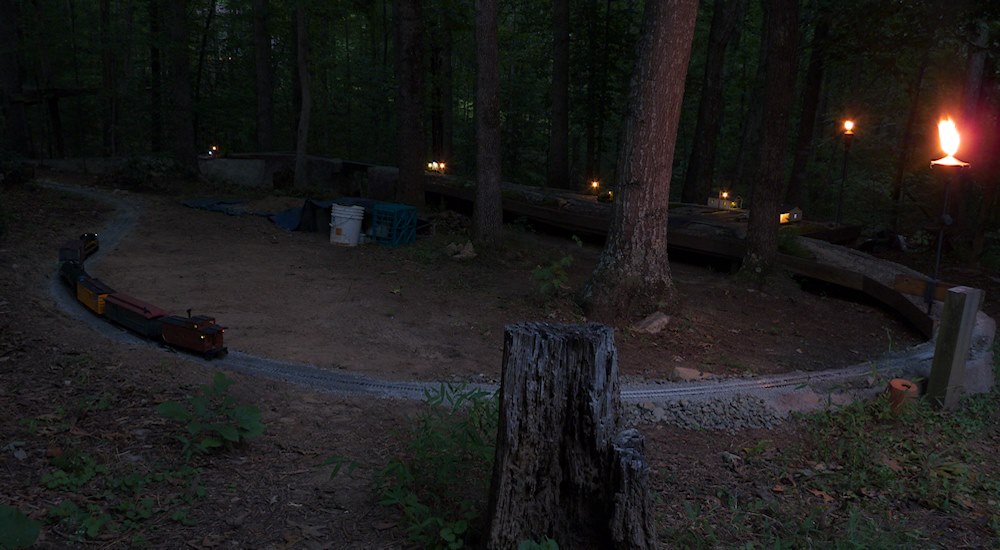
I also got this little rail truck together. Made from an off the shelf kit and a little ‘robot’ transmission I got from pololu.com. Does ok, good speed but a bit noisy. The flanges on the wheels are not quite right, too square. It does well on straight runs but jumps off the track when going over a switch. Oh well, more engineering to get it tweaked right.

storeA

storeB

So here is the General Store/Grocery for Gilbert. This is from an older design I originally did in wood. Alas, the wooden one fell apart pretty quickly in the elements so I made this one from styrene sheet using the same patterns. More or less.

This is only the shell, I will need some detailed lighting and an interior with all that glass on the front, looks pretty ridiculous empty like that, eh? But I plan for this to be the centerpiece of Gilbert so it needs some work. A neon sign perhaps, lots of lights. A small parking area.

Here is a video of the router cutting out some of this:

yard2
yard1

Finally got a complete loop of track down. Now I can go roundy roundy! Which is good because the ‘reverse’ button on my controller has failed, so no backing up! Need to fix that.

P1040901

This is the base design for my new hand-held controller. Along with a new case and display, I’m going to refactor the software to provide a cleaner interface into the clients (locomotives). Right now my ‘phase A’ handheld knows a little too much about the clients, I want a more disconnected sort of protocol. Anyhow, I’ve gotten everything to fit but the graphic interface required some new hardware so that has not been tested (other than a basic smoke test). I’ll need to write the code for that and then port parts of the old handheld code into it. The keyboard, knob and Xbee interface should not have to change much, I just need a calibration step on the kbd and store that into eeprom. I’m going to have a usb interface into this so I can write a tool on the PC to setup the function keys and display.

two
three
one
shack1

shack2

My new building. Everything is cut from sheet styrene on my Probotix X90. I do love this machine and working with styrene. It cuts like butter and you only have to run the router at about 7600 rpm so it’s pretty quiet.

Anyhow, this is a tower sort of depot near the south end of my bridge. It’s on stilts, With all the windows I’m going to have to make a decent interior, frosting the windows is not really an option I don’t think. Work in Progress as is everything.

Switch Jig

switchA

switchB

Need a few more switches, so rather than make them like the last, on foam boards, I decided I should make a jig so I can (in theory) make them a bit easier. So far so good, this one came out pretty well but it had one small high spot I had to grind out. Still needs the point control bar, whatever that’s called and a waterproof servo for a throw. Took me about 3 days off and on to make this one. Now for some more epoxy, stain and seal.

people

Here are a couple of people I’m working on for the porch of my shotgun house. The originals were 3D printed, then I made molds from those. These are resin cast from those. Casting resin seems to be an art form unto itself, it’s difficult to get a perfect cast. Bubbles in various places produce voids, frequently in the face and feet. These came out pretty well though. Just need to clean them up a bit more and do some painting.

houseA
houseC

Here is my ‘shotgun house’. So called because you could shoot a shotgun through the front door and out the back without hitting anything. These were very common in the early 20th century, easy to build, standard lumber sizes, reasonably cheap. Often used in ‘company towns’.

Anyhow, this is my take on one. The sides are cast resin, I made two masters using (many) strips of .060 styrene to get the siding effect. Those were used to make two rubber molds, one with the brick base and one without.

For the house, I poured three of the brick base and one without, then cut them out on my band saw. The windows and door openings were cut on my X90 3D router, (cured resin cuts very much like styrene it seems, sweet). The floor and roof are just straight cut styrene sheet ‘score and snap’. The window and door inserts are also cast from resin. Everything is painted with rustoleum flats- brown, white and for the roof, black. I have it wired with white LEDs inside and on the porch but don’t have 12v out in the garden yet. Soon.

combine

Latest Project. I picked up this passenger/baggage car along with the caboose at the ECSLTS train show last month. This one was $30. Good deal. Finally got to work on it some. I’ve disassembled and painted all the parts, pulled out the bulbs and put in white LEDs. A few 3D peoples will populate the seats. I also got the nice shiny truck from ECLSTS. Scale is good. Looks like it has a load of zombies…