First Power up of the TCS decoder and the Bluetooth Enabled Control Widget
This is the first power on test of the decoder. I have not changed anything in the firmware or Android App from what I had with the Economi Decoder. I am using the 28/128 speed step which is the default in both decoders – so the extended packet format of DCC. The throttle, Bell and Horn all work out of the box, no configuration was done to the decoder before I tried this.
Because the TCS has some additional features and requirements, I will probably have to change the firmware and app side a little from the Economi implementation. It also has some sort of ‘mode’ to switch between the lights and sound functions so I will have to figure that out. That is the nice thing about a custom app, I can tailor it to each decoder.
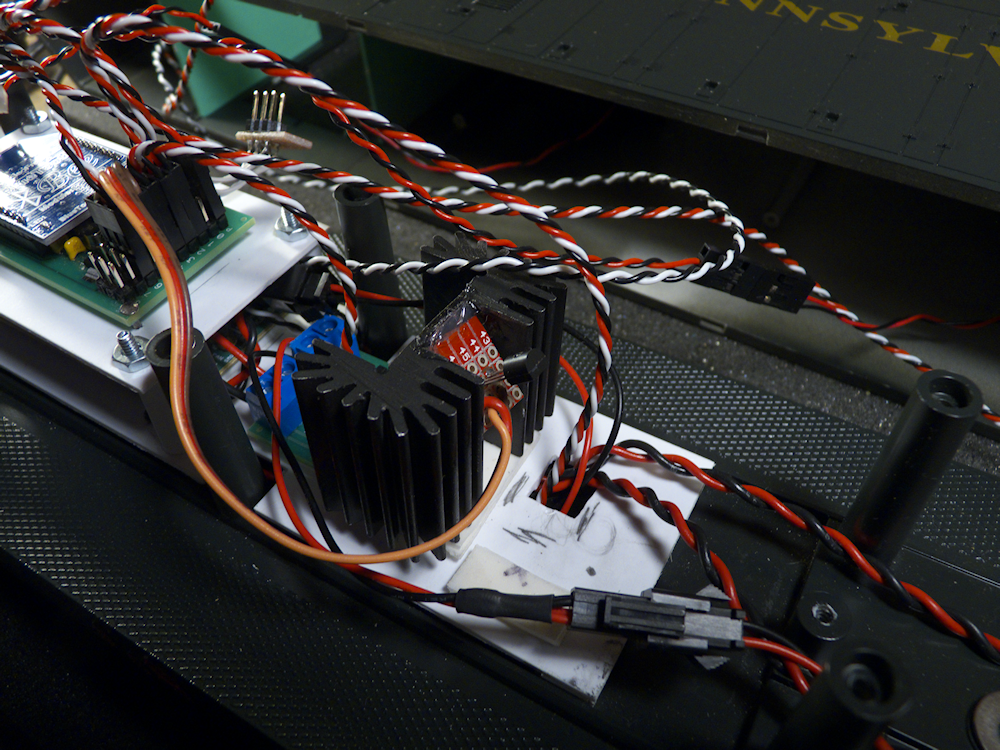
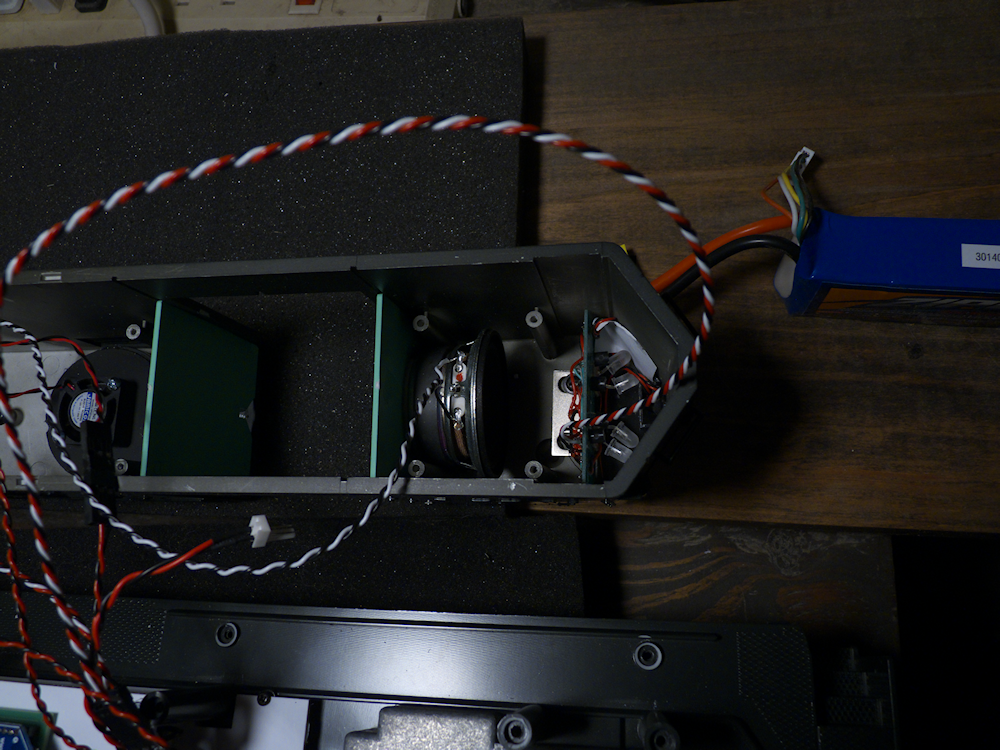
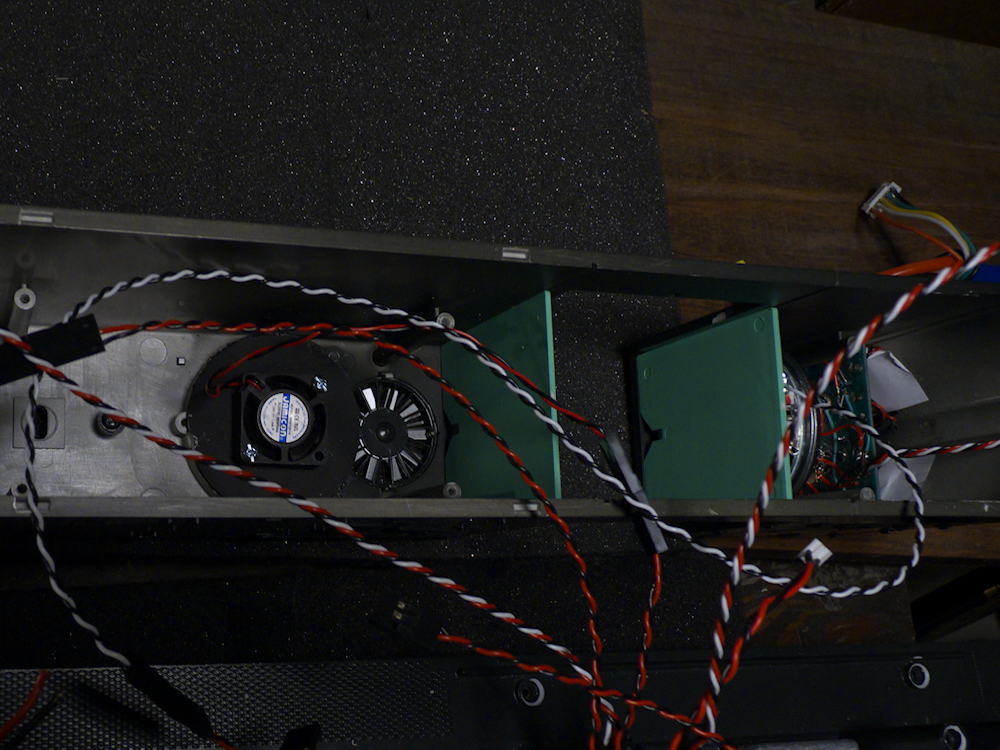
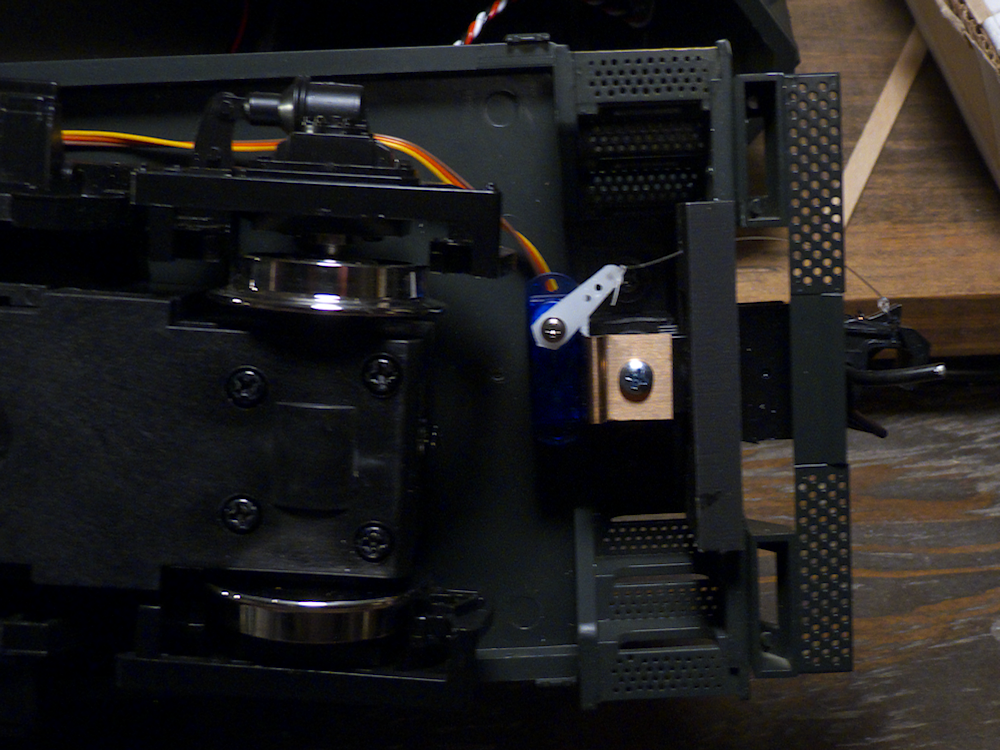
I also will be controlling a few extra things with this particular installation – I’ve got a temperature sensor mounted on the heatsink of the DCC amp. I also had a current sensor in there but it proved to be defective so I had to remove it for now. I’ve got two fans wired to function outputs on the decoder so I can turn those on and off. Two servos will be used to control the couplers as well. These will be implemented in the widget layer, they won’t be controlled by DCC so I can tailor that profile as well. Just yanking the couplers open doesn’t work very well, you need a smooth motion.
One other option will require a PCB mod. I want to be able to ‘name’ each BT module so it shows up in the phone as a locomotive number and description. The docs say I can use up to 20 characters for this. However it requires that you power up the device with a pin held low, then let it go high so it enters ‘AT’ mode. This will require either a special app or an extension to the one I have to set this plus a jumper on the PCB. I can work around this for now but I will add it to the PCB layout along with a couple of other spacing fixes for the next pass.

