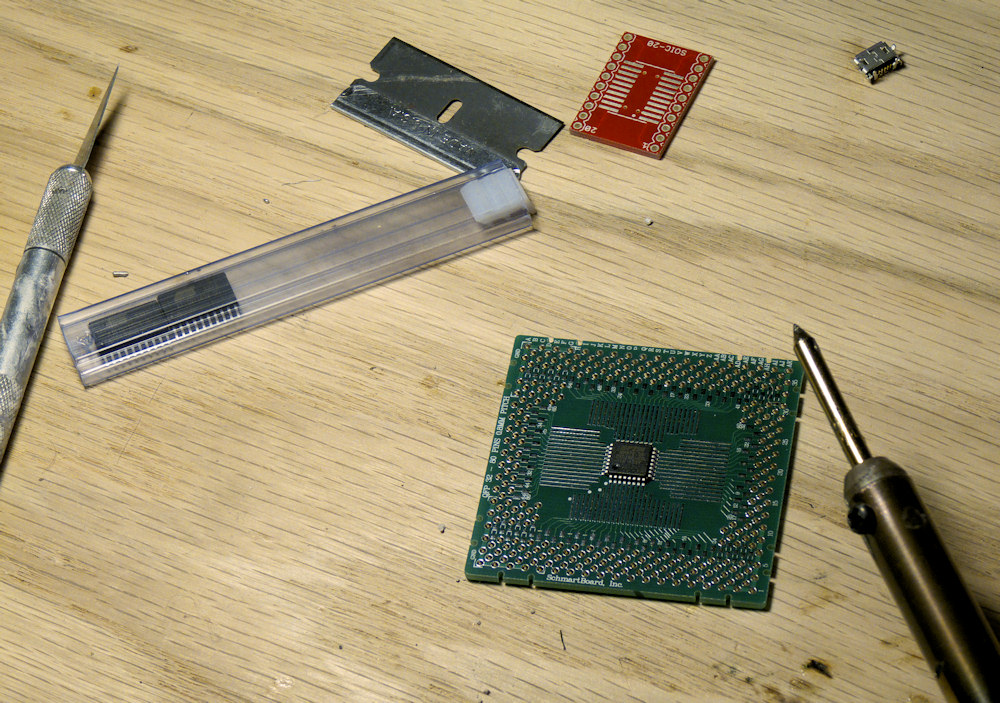
Well, this turned out a lot easier than I thought it would. Align the chip and stick it down with masking tape. Just touch the soldering iron tip to the trace and the chip pin and presto, instant bond, no muss, no fuss. Did the whole chip in just a few minutes.
I’m using a 0.8 pitch Schmart Board to do this, they are a bit pricey but well worth it in terms of ease of use for concocting a breadboard-able SMT chip.
However, it does seem prudent to look into the next step up, surface mount reflow in a toaster oven. This was not bad but these components are getting too tiny to work with and I will need a more ‘small production friendly’ method if I want to sell these things (which I do at some point). Here are a few links I’ve been looking over and does it count I’ve been to Walmart to price new toaster ovens? Ha.
http://www.freetronics.com/surface-mount-soldering-with-a-toaster-oven
http://hackaday.com/toaster-oven-reflow-soldering
Anyhow, to recap, (see below post) this is the interface chip between my control widget- a tiny joystick and xbee radio module- and a cheap android tablet. The idea is to use the tablet as the user interface for the widget as opposed to the controller I have been working on with it’s limited LCD and 16 key interface. (see previous posts) It works ok and it’s cheap but its like really clunky. Time for a fresh morph into a new design.
