Model Trains


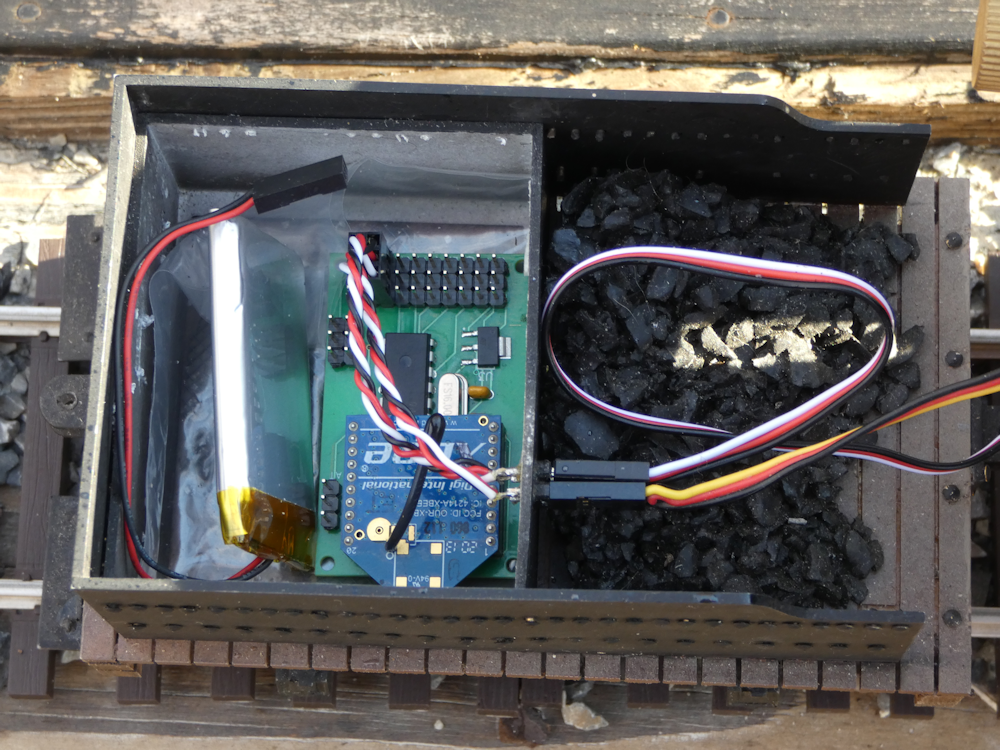
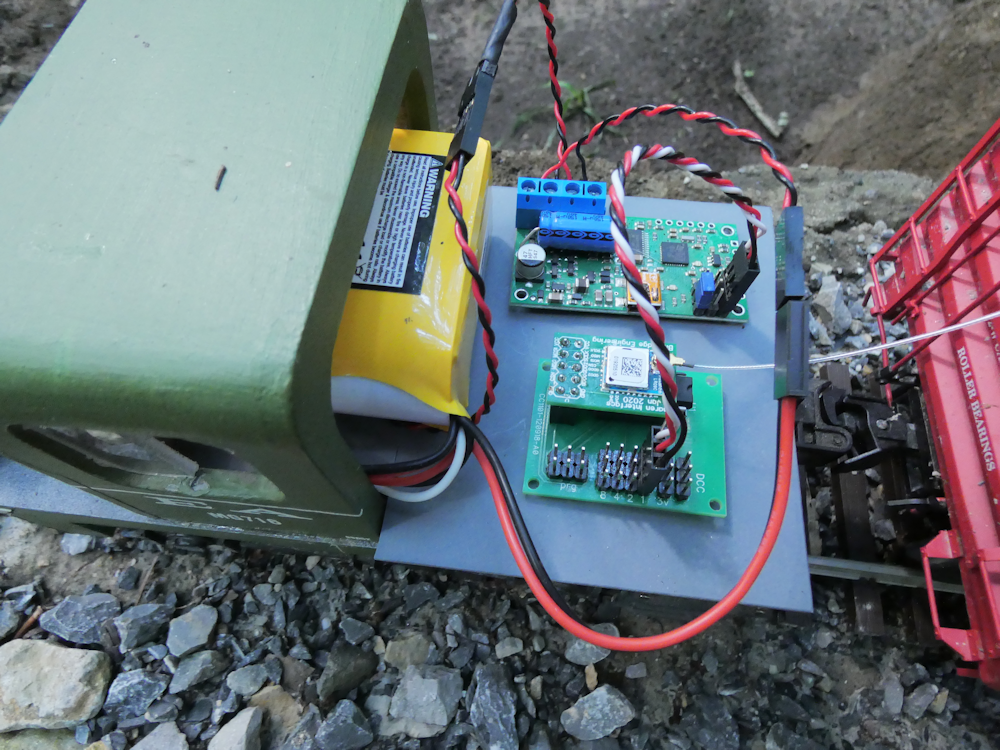
This is a project I actually started about 2 years ago. I put it on the back burner when I got involved with Protothrottle development and it has languished in my electronics stash until the last few weeks. This is an Attiny driven Airwire Compatible Receiver. The board in the photos above is a development board, and as such has a few jumpers and mods on the underside. The production board will be quite a bit smaller and more compact (and no cuts or jumpers!).

I’m using an Anaren daughterboard for the radio modem, this is made by my colleague, Darrell Lamm, who has done a tremendous amount of R & D on these CC1101 radio modems and chipsets. These are really nice boards. They are also quite small and so perfect for this design.

I have taken the functionality of my Protothrottle and original AirMini Receiver designs, optimized the code and squeezed it down to a very small footprint. Although this is still in the test phase, I am quite happy with the results.

This board has the following features:

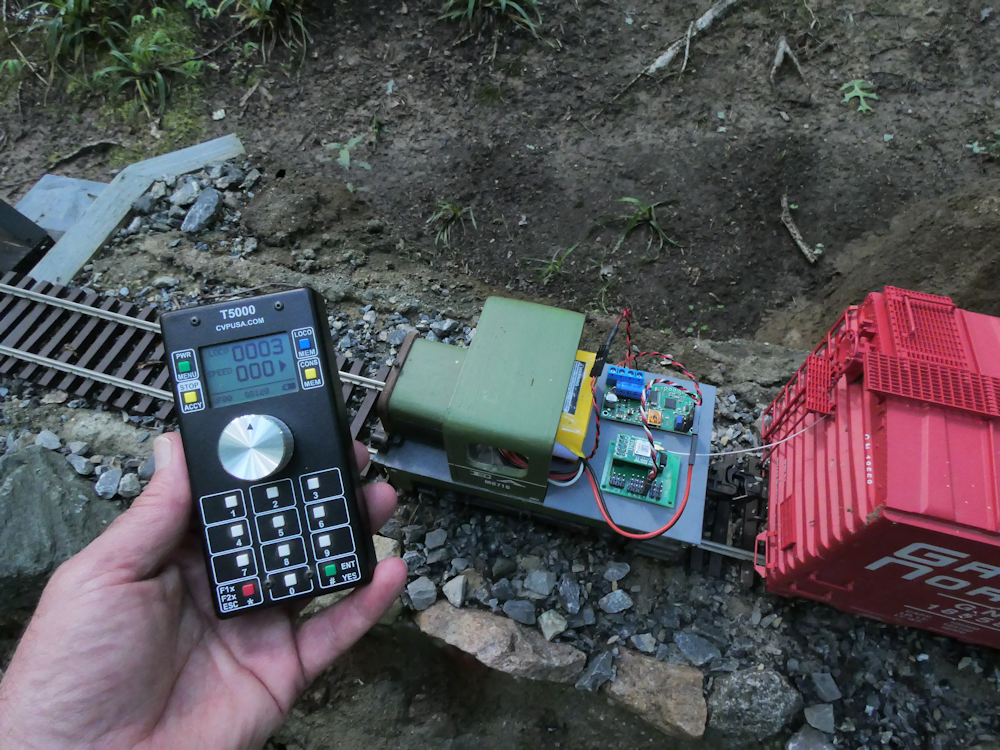
  • Compatible with the T5000 Airwire Transmitter
  • Compact size – 26mm x 34mm
  • Programmable using CVs
  • DCC Output up to 10A (with optional motor drivers)
  • Two digital output lines that can drive relays, etc, assignable to any function code 0-28
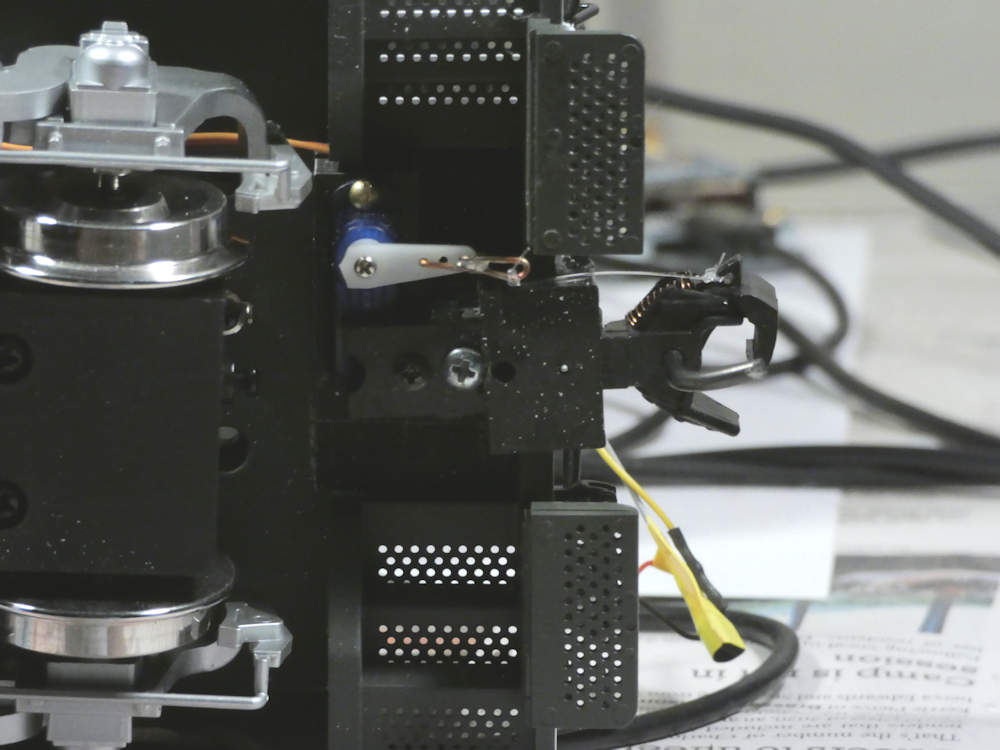
  • Two Servo Outputs that can be used in three ways:
    • Live Steam Mode – servo one follows the throttle, servo two is direction
    • Electronic Speed Control Mode – Servo one controls a ‘center off’ ESC
    • Coupler Mode – Trigger two servo controlled couplers

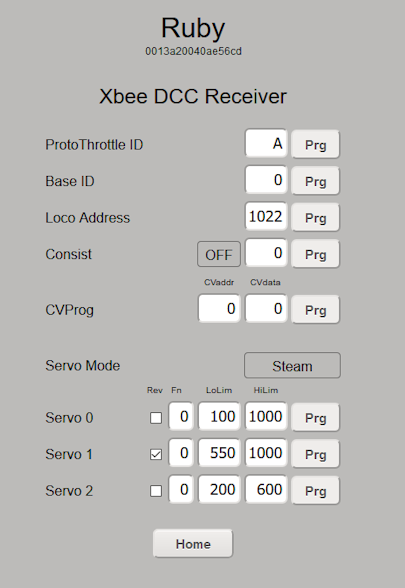
Here is a list of all of the programmable options for this receiver:

/*
 * Decode message packets here and do servos and config variables
 *
 *   CV 200 - Radio Channel 0-15
 *   CV 201 - Radio Power Code
 *   CV 202 - DCC Address lo
 *   CV 203 - DCC Address hi
 *   CV 204 - Servo Mode 0=Steam, 1=couplers, 2=ESC
 *   CV 205 - Servo0 LowLimit Lo
 *   CV 206 - Servo0 LowLimit Hi
 *   CV 207 - Servo0 HighLimit Lo
 *   CV 208 - Servo0 HighLimit Hi
 *   CV 209 - Servo1 LowLimit Lo
 *   CV 210 - Servo1 LowLimit Hi
 *   CV 211 - Servo1 HighLimit Lo
 *   CV 212 - Servo1 HighLimit Hi
 *   CV 213 - Function Code for Output x
 *   CV 214 - Function Code for Output y
 *   CV 215 - On/Off Code for Output x
 *   CV 216 - On/Off Code for Output y
 */

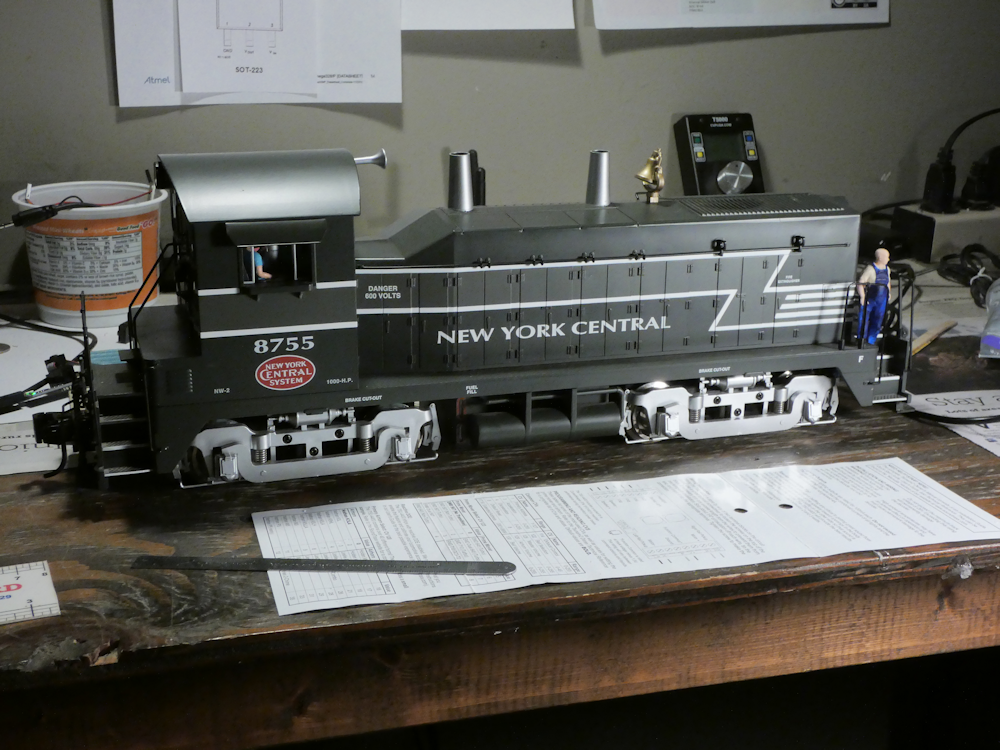
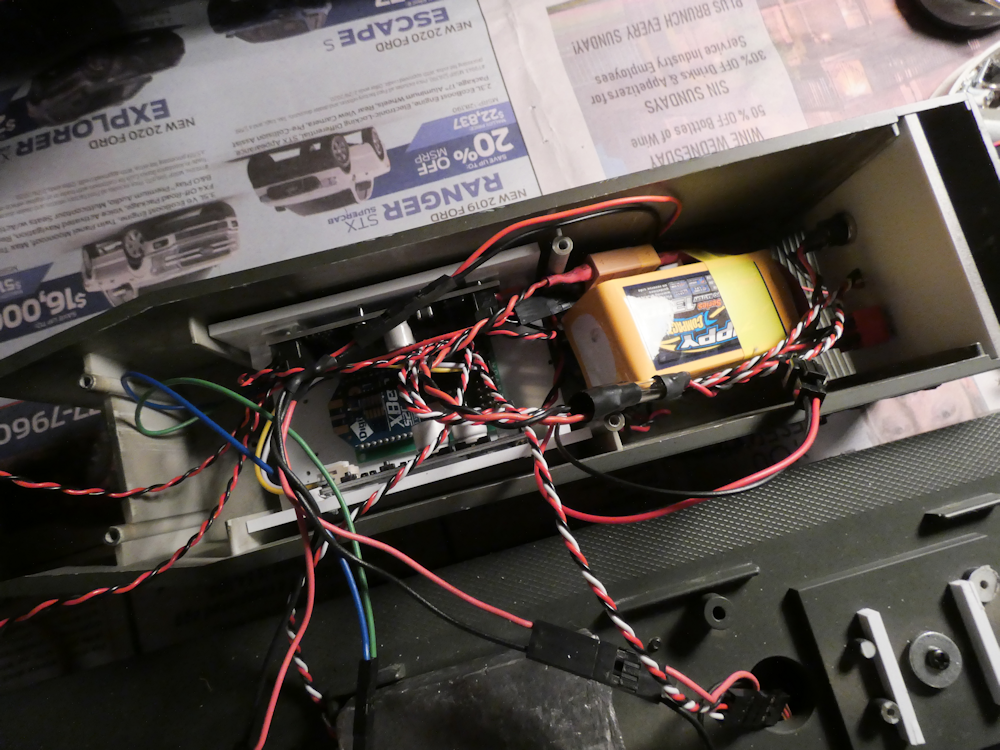
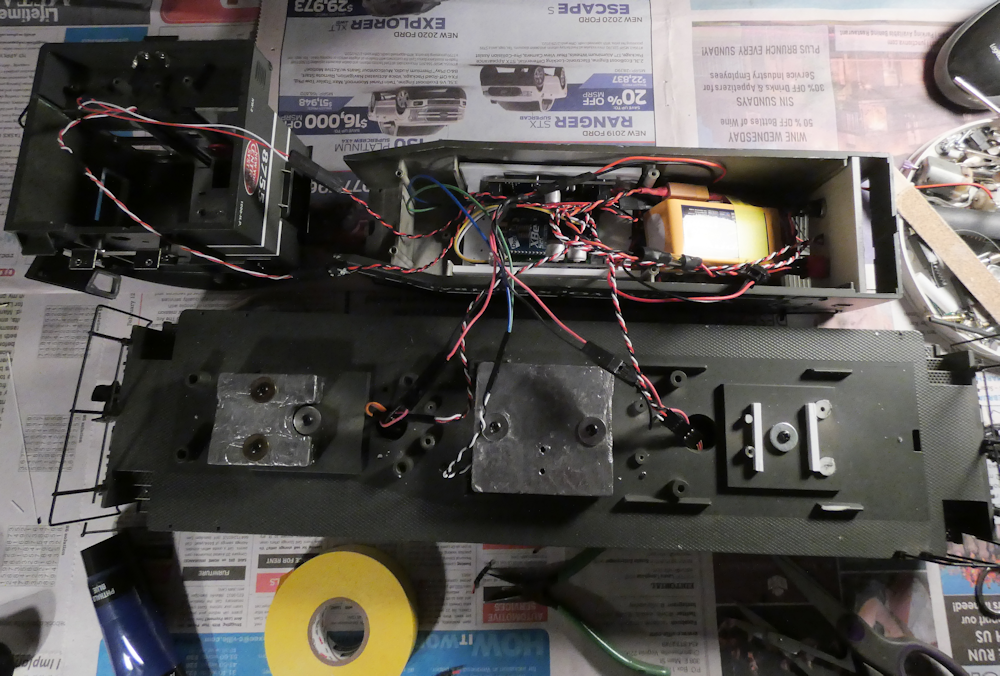
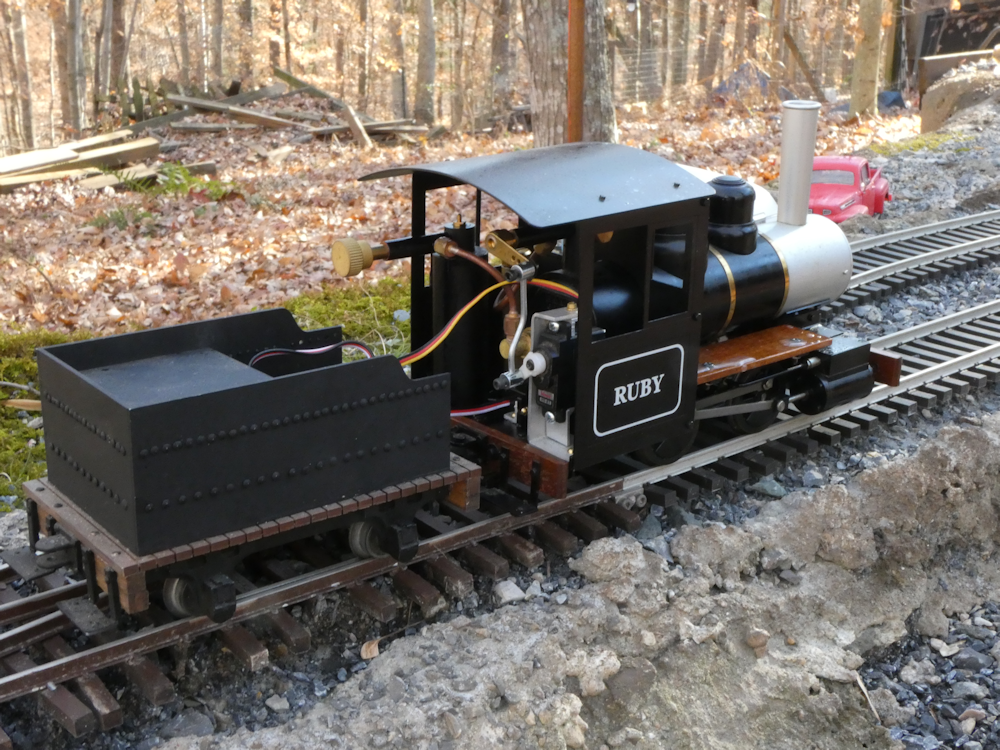
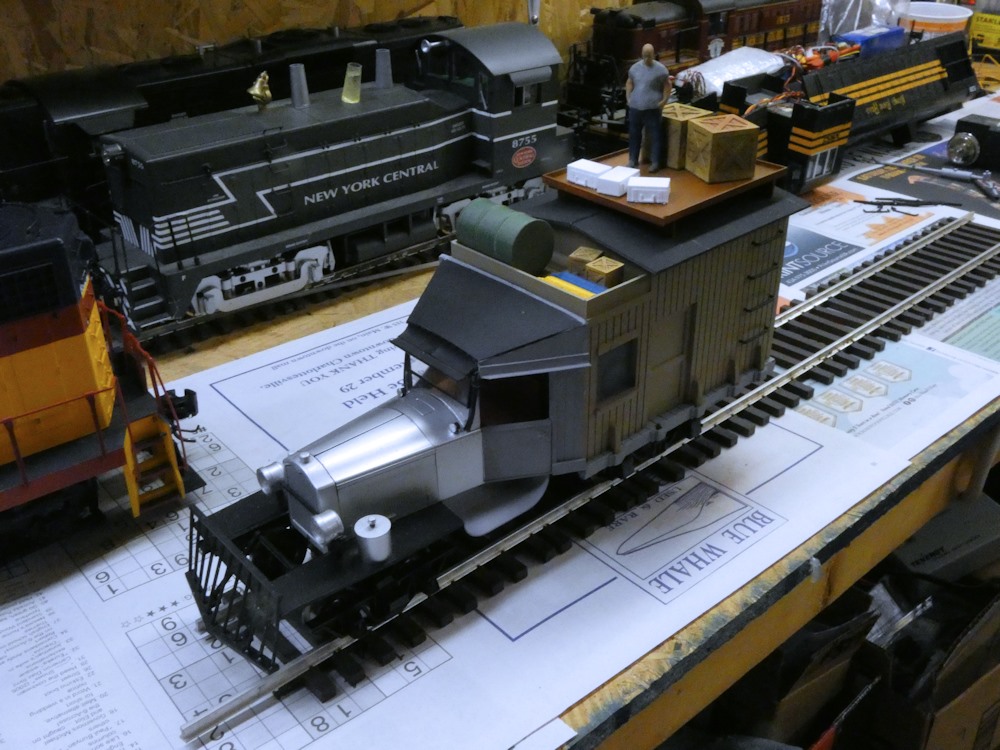
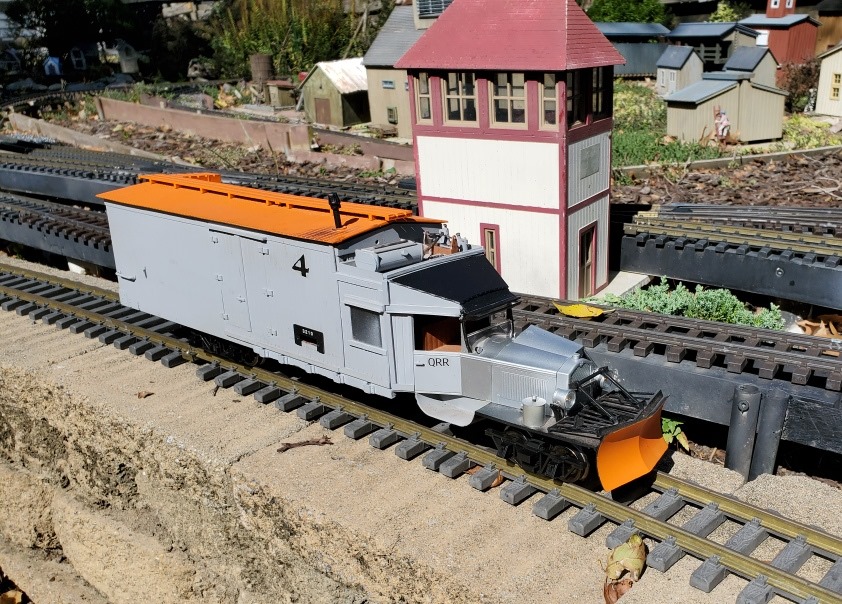
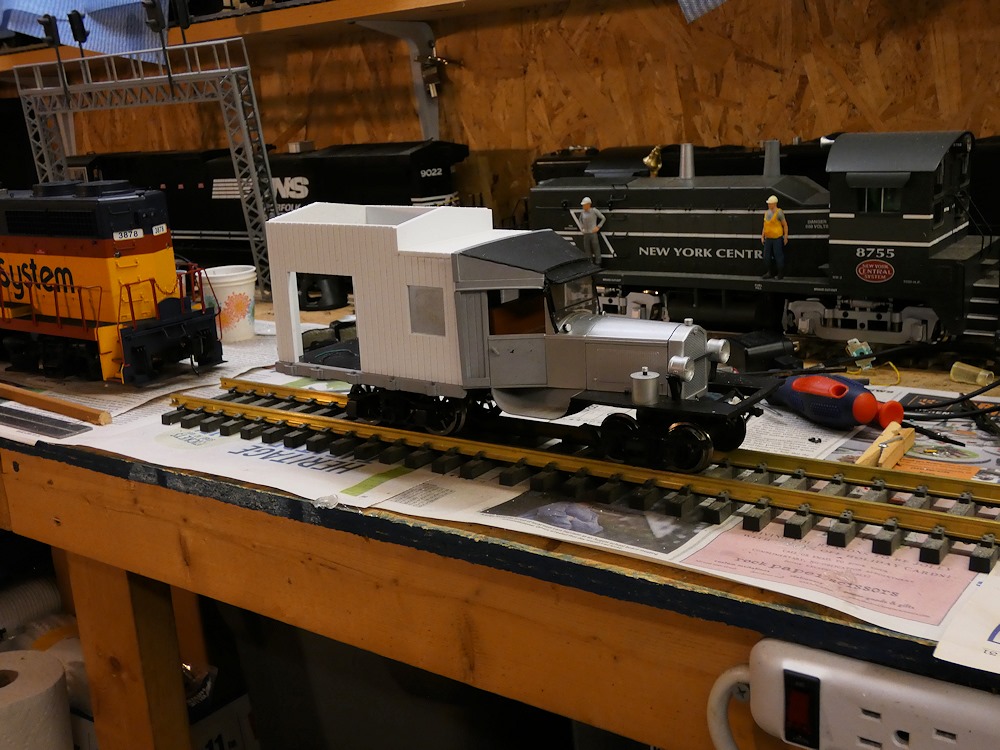
In the pictures and video, I’m controlling a Pololu 18v7 ESC motor controller. The Pololu has an option for a 3.3v BEC (battery elimination circuit) so it only takes two boards and a 2 cell lipo (7.4v) battery to drive my little test critter. I took it out to the layout to do some range testing and was quite impressed. With the T5000 set to transmit power ’10’ (full) I am getting a good solid 100ft. It may actually be a bit more but this is as far as I could go easily. Below is a video of the range test:

And a more close up video:

Here is my latest project – Protothrottle Dead Rail for a USA Trains NW2. Somehow I managed to squeeze everything into this little fellow but I did have to skimp just a little on the battery, it’s only 1300mah. But that’s fine for a switcher in my tiny little industrial yard.

It has a SoundTraxx TSU4400 in it, which is a really nice 5A sized DCC decoder. It’s ease of programming and the function outputs add to the great sounds. It also has some neat features in it including a 7 band EQ and reverb effects. One other thing it lets you do is ‘detune’ the engine sounds some- I took it down 100 ‘cents’, adjusted the EQ a bit and now have a good solid bass ‘thrum’ sort of effect. Pretty cool.

For this install I also did some software development to finish off the coupler mode for the servos. I have these set up on the Protothrottle so that the Aux button controls them. If the direction is set to forward, the aux button controls the back coupler, if it’s in reverse, it controls the front one.

Above are a couple of shots of the interior, I had to build a special little ‘cradle’ to get everything to fit. On one side is the Soundtraxx Decoder, on the other is the 10A motor driver. In the center is the Xbee Receiver. The battery is a 1300Mah 14.8v Lipo. There is also a small buck converter to power the Receiver and Servos at 5v but it’s under the battery so out of view here.


This one shows the servo and couplers. I 3d printed a servo/coupler sort of mount that came out quite well.

Good shot of it out on the layout with my 3d printed guy on the front.

Above is a quick video of everything all setup and running. Took me a while to tweak all of the parameters and sounds and assign them to the PT buttons but I really like the result. I have the acceleration and deceleration dialed in and enabled the brake. The couplers are triggered by the aux button and I’m using F12 for that so it already has the coupler sounds paired with the servo movement (more or less). I forget the actual horn sample I’m using but I watched a couple of youtube videos of NW2s and this one was pretty close. I mapped the engine start (F5) to the bottom LCD button and ‘radio chatter’ (F22) to the top one. It still needs a bit of tweaking but I’m very happy with how it came out.

New Bridge


Got the new Burnley Bridge installed. Also did some concrete shell work on the mountains. Patched the one big hole Sophie put in the side when she wanted to sniff the moss. Cured up pretty well, now for some color, concrete grey is a bit boring. Lots more work to do, I will probably tear down Gilbert and rework that, I need to find a better way to make a small city street and I also need a deeper layer of soil.

I seem to have a lot of time on my hands so I decided to construct a country store for my little town of Burnley out on the Layout. This combines the basic construction method I’ve come up with using the CNC with some 3D printed detail parts I got off of https://www.thingiverse.com/

Everything is colored with rattle can spray paint and the details and sign were printed on my good ole HP Photosmart ink jet. Generous amounts of matte spray (clear) finish were applied to the structure and each of the posters and signs. It got it’s first steady rain last night and still looks crisp, we will see how hard the weather is on it over the next few months.

I did some more work on my servo controls for the Protothrottle over the holidays. I wanted to fine tune the live steam mode a bit more and clean up a few bugs. There are three servo modes- couplers, ESC and Steam. In the Steam Mode, Channel 0 is the throttle, Channel 1 is the direction. Both of these follow the direction and throttle controls on the PT. You can adjust high and low limits and reverse each servo. Here is a screen shot of my programmer:

The electronics are very simple, one board and a 3.7v lipo.

Here is a quick video of the servos on the bench:

Here it is fired up and running outside:

And a video of a complete run around the layout loop:

Rail Truck

Picked up a used rail truck for $75. Nice little fellow, all metal. Looks like it was modified by the previous owner to look like one of the old ‘goose’ rail cars from the 20s. I think that’s a bit of an overkill so I took it all apart down to the motor and cut out a new back end from sheet styrene.

I’ve been working on some repaints and touch up for my growing fleet of used locomotives. First shot is an old Aristo F1 unit. It started out as a Southern Pacific, I disassembled it down the the gears and stripped the paint off the shells. Did the same with a B unit (it used to NH paint)

I’m trying to get at least close with this paint scheme on the cab units and the Chessie scheme of mostly orang-ey kinda of yellow on the others. I also like the all blue with yellow letters like this S4 scheme. I have an S4 new in the box but that is a future project.

For the paint, I am a rattle can sort of person so a quick trip to Lowes got me very close I think. Here is a list of what I’m using:

Strip 91% ISO alcohol in a very big plastic bin
Primer Rusoleum Universal Grey
Yellow Nose Paint Krylon Gloss Sun Yellow
Light Blue Krylon Matte Vintage Blue
Dark Blue Krylon Satin Oxford Blue
Chessie Yellow Rustoleum Caterpillar Yellow
Flat Black Krylon Flat Black